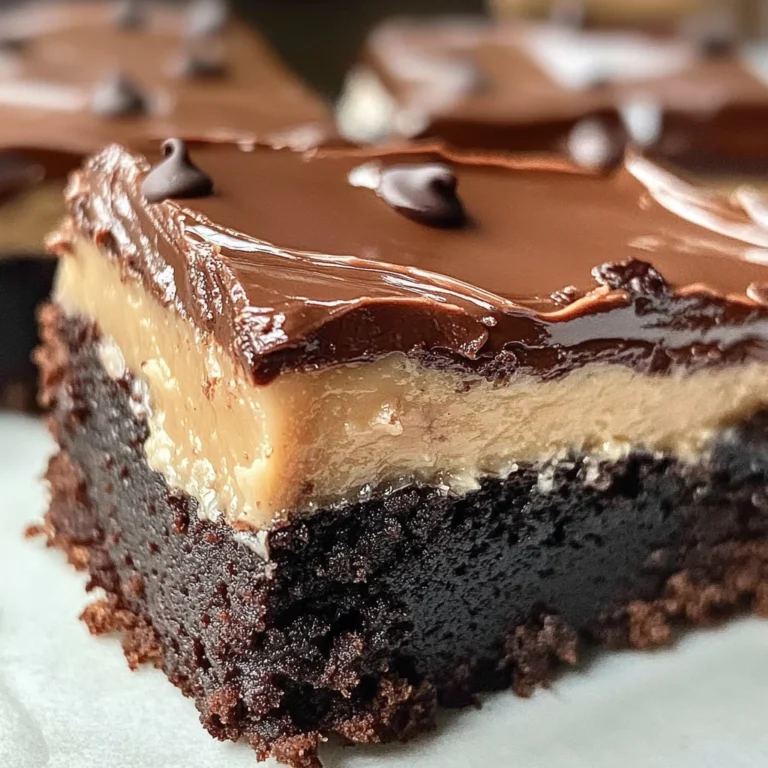
Caramel Turtle Rice Krispies Treats
There’s something utterly magical about Rice Krispies treats that transports me back to my childhood, filling my heart with warmth and nostalgia. Each time I take a bite, I’m reminded of the joy of simple pleasures—of sticky fingers and sweet smiles. Today, I want to share a recipe that takes this beloved classic and elevates it to new heights: Caramel Turtle Rice Krispies Treats. Imagine a symphony of flavors where gooey caramel dances with rich chocolate and crunchy pecans atop those familiar crispy delights. This isn’t just a dessert; it’s an experience, an invitation to gather around the table and share moments that linger long after the last crumb has disappeared.
As we embark on this culinary adventure together, let me assure you that these treats are more than just a sweet indulgence; they are a bridge between tradition and creativity. They combine the beloved elements of the original Rice Krispies treat—its delightful crunch and marshmallowy goodness—with the luxurious decadence of caramel and chocolate. Trust me when I say that each bite is profoundly satisfying, offering a perfect balance of textures—from the crispiness of the cereal to the silkiness of melted chocolate. So grab your favorite apron, and let’s dive into this delightful recipe!
Caramel Turtle Rice Krispies Treats: A Sweet Symphony of Crunch and Indulgence
These Caramel Turtle Rice Krispies Treats are sure to be a hit at any gathering or simply as a comforting snack at home. The juxtaposition of sweet and salty flavors creates a treat that’s truly extraordinary, making every moment spent indulging in them feel special.
Ingredients:
Now that you can almost taste the buttery caramel and rich chocolate melting in your mouth, let’s gather our ingredients! Each element plays its own unique role in creating this fantastic treat, so let’s dive into what you’ll need.
- 7 cups Rice Krispies cereal. This quintessential crunchy base is what gives our treats their signature texture. The lightness and airiness of Rice Krispies create an incredible contrast when paired with the gooey caramel and smooth chocolate. When choosing your cereal, look for freshness—old cereal can lose its crispness, which is absolutely non-negotiable for achieving that satisfying crunch.
- 16 oz mini vegan marshmallows (1 bag or about 8 cups mini vegan marshmallows). These little puffs are essential for binding everything together while adding that necessary sweetness. Vegan marshmallows melt beautifully without any animal-derived ingredients, making them perfect for everyone. Look for brands that offer great meltability—this is crucial as we want them to blend seamlessly with the butter.
- 4 tbsp butter. Butter adds not only richness but also moisture to our treats. It’s important that your butter is softened to room temperature; if it’s too cold or melted, it won’t blend nicely with the marshmallows, affecting both texture and flavor. I always recommend using high-quality butter because it makes such a difference in taste—trust me on this!
- 3/4 lb caramels (store bought individual caramels). These little nuggets will transform our treats into something truly special! The smoothness of melted caramels creates an irresistible layer of sweetness that drapes over the entire dessert. If you’re looking for alternatives, there are many vegan caramel options available now—a game-changer for those who want to keep things plant-based without sacrificing flavor.
- 2 tbsp water. This may seem like a small ingredient, but it’s absolutely paramount when melting your caramels! The water helps create steam in the pot which prevents the caramels from burning as they melt down into liquid gold.
- 1/2 tsp vanilla extract. Vanilla is often considered one of those “secret” ingredients that can elevate any dish—it adds depth and enhances all the sweet flavors in our treats without overwhelming them. Using pure vanilla extract will make all the difference here; artificial vanilla just doesn’t have the same enchanting aroma or flavor profile.
- 6 oz semi-sweet chocolate. The rich bitterness of semi-sweet chocolate serves as a wonderful counterpoint to all that sweetness from our other ingredients. You can opt for dairy-free chocolate chips or bars depending on your dietary preferences; just ensure it melts smoothly so we can drizzle it over our treats!
- 3/4 cup pecans (chopped). These nuts add not only crunch but also a lovely earthiness that balances out all those sweet notes beautifully. Toasting them lightly before adding will enhance their flavor even more—don’t skip this step! If you’re not keen on pecans, walnuts or almonds could work wonderfully as substitutes.
Equipment You’ll Need:
Before we jump into making these delightful treats, let’s talk about some essential tools you’ll need in your kitchen! Having the right equipment will streamline your baking process and help you achieve perfect results every time.
- Large mixing bowl: A sturdy mixing bowl is vital for combining all our ingredients without worrying about spilling over everywhere! Look for one with enough volume since we’ll be mixing quite a bit—stainless steel or glass works best as they hold up well against heat if you’re melting anything.
- Saucepan: A medium-sized saucepan will be your best friend when melting down those caramels with water! Choose one with heavy bottoms to allow for even heating; this prevents scorching while ensuring everything melts uniformly into blissful gooeyness.
- Rubber spatula: This tool will be invaluable throughout your cooking journey! With its flexible design, it’ll help scrape down sides efficiently while folding ingredients together gently without crushing anything—that delicate touch matters here!
- 9×13 inch baking pan: Opt for one lined with parchment paper to make removing those delicious bars later oh-so-simple! The size ensures thick enough layers without overflowing—the perfect depth for slicing into squares later on.
- Double boiler (optional): If you find yourself intimidated by melting chocolate directly in a saucepan (which can easily burn), using a double boiler is an excellent alternative! It provides gentle heat from below while preventing direct contact with flames—perfectly melting your chocolate without fear!
Now that we’ve gathered our tools and ingredients together like old friends reuniting at a cozy kitchen table, let’s get started on preparing these Caramel Turtle Rice Krispies Treats!
Step 1: Melting Marshmallows and Butter
To begin this process, take your large mixing bowl and combine those mini vegan marshmallows with softened butter inside—it might seem simple at first glance but trust me; this is where magic begins to happen! Carefully place this concoction in your microwave or over low heat on the stovetop until both components become soft and luscious—a process known as melting—and be sure to stir continuously until they’re well combined into one cohesive mixture resembling liquid clouds! This creamy blend forms the backbone of our treats since it holds everything together while infusing each bite with sweetness—the essence lies within these two humble ingredients!
Step 2: Incorporating Cereal
Once you’ve achieved that dreamy marshmallow-and-butter blend, it’s time to fold in those crispy Rice Krispies cereal gently yet decisively—this part requires patience because rushing here could lead to broken pieces rather than divine crunchiness! Use your rubber spatula effectively by folding carefully rather than stirring aggressively; think about cradling each flake delicately instead of smashing them apart like fragile dreams falling through fingers… By fostering this loving care during incorporation means each square will boast maximum texture come serving time—absolutely paramount!
Step 3: Preparing Your Caramel
While waiting patiently for those delectable squares’ initial stage completion happens—that perfectly mixed marshmallow-cereal concoction—you can turn attention toward preparing luscious caramel sauce next! In another saucepan over low-medium heat combine store-bought individual caramels along with measured water mentioned earlier; stir gently until everything melts down into silky smoothness resembling molten gold… Oh wait till you see how intoxicatingly beautiful this looks—it smells heavenly too! Don’t rush this step either; allowing adequate time ensures no lumps remain hidden which would disrupt final presentation later down course.
Step 4: Combining Layers
With both components ready now comes exciting assembly time where worlds collide harmoniously together—take half of prepared rice krispies mixture spread evenly across bottom layer first… Once settled firmly within pan pour generous amount warm caramel sauce atop spreading out evenly across surface enticingly inviting mouthwatering anticipation building up inside you already isn’t it? Then sprinkle remaining rice krispies mixture generously over caramel layer creating perfect topping barrier shielding away any potential messiness underneath… Don’t worry if things look imperfect at this stage because trust me once they set completely they’ll transform beautifully before eyes turning ordinary day into something extraordinary altogether!
Remember folks: Cooking isn’t just about following steps blindly but embracing unique moments along way enjoying every single second spent creating memories alongside delicious bites shared amongst loved ones too… So keep smiling throughout journey knowing soon enough rewards await eagerly ahead once done beautifully crafting these Caramel Turtle Rice Krispies Treats together!
Step 5: Melting the Marshmallows to Create a Creamy Base
Now that you have your butter melted and mixed with those delightful mini vegan marshmallows, it’s time to transform this mixture into a creamy cloud of deliciousness. You’ll want to keep your heat at medium-low—this is crucial because if the temperature is too high, the marshmallows can scorch, turning them into an unappetizing sticky mess instead of a smooth, gooey base. Picture it: as you stir gently with a wooden spoon, the marshmallows will begin to melt and blend with the butter, creating a glossy, liquid gold that will bind everything together beautifully.
Don’t rush this step! Continue stirring until the mixture is completely melted and smooth. You’ll know it’s ready when there are no lumps left and it resembles thick syrup. This process typically takes about 5-7 minutes, but trust me—it’s worth every second. The longer you take here, the more flavor you’ll develop as the marshmallows take on that buttery richness. Once you’ve reached that perfect consistency, it’s time to move on to our next delightful step.
Step 6: Combining Rice Krispies for Perfect Texture
With your marshmallow mixture now silky and invitingly aromatic, it’s time to introduce those crispy little gems—your Rice Krispies cereal. Pour in approximately 7 cups of Rice Krispies right into your pot and use your wooden spoon to fold them into that luscious marshmallow mixture. This is where the magic happens, so be gentle yet deliberate; you want to ensure every single Rice Krispie gets coated in that gooey goodness without crushing them.
As you mix, watch for the transformation taking place before your eyes—those crispy cereals will start absorbing all that sweet marshmallow bliss. It’s a symphony of textures! The combination of chewy marshmallow and crunchy rice gives these treats their iconic taste and feel. Be patient here; this mixing should take about 2-3 minutes until everything looks evenly coated. If you find some dry patches of cereal peeking through, just keep mixing until they’re all beautifully enveloped in that divine mixture.
Step 7: Forming Your Treats with Care
Now comes one of my favorite parts—the molding! I always recommend greasing a 9×13-inch baking dish lightly with either a bit of non-stick spray or coconut oil before transferring your Rice Krispies mixture into it. This ensures that when it’s time to dig into these Caramel Turtle Rice Krispies Treats later on, they’ll come out effortlessly without any sticking or tearing apart.
Using wax paper or simply dampening your hands slightly can also help prevent sticking while you press down the mixture firmly into the pan. This step is absolutely paramount because firming up the treats creates structure; if they’re too loose, they won’t hold together when you cut them later. Aim for an even layer about 1-2 inches thick; this way you’ll have enough height for all those glorious toppings we’re about to add! Press down hard but be gentle enough not to crush them—think of yourself as sculpting something beautiful rather than just smashing it flat!
Step 8: Preparing Caramel Sauce for Drizzling Bliss
While your Rice Krispies layer is setting (yes, patience is key here!), let’s shift our focus back to those lovely caramels we set aside earlier. In a small saucepan over low heat, combine 3/4 pound of individually wrapped caramels with 2 tablespoons of water. As these begin melting down—and oh boy does that smell dreamy—keep stirring gently until they’re entirely liquefied and silky smooth.
Why water? It helps create a perfectly pourable consistency without burning or clumping up. If you skip this step or rush through it by cranking up the heat, you might find yourself battling grainy caramel instead of pouring an oozy drizzle over your treats later on. Once melted and glossy (this should take about 5-10 minutes), remove from heat and add in half a teaspoon of vanilla extract for depth—a little splash will enhance sweetness without overpowering anything else.
Final Touches
Now let’s bring everything together in a crescendo of flavors that will truly excite your taste buds!
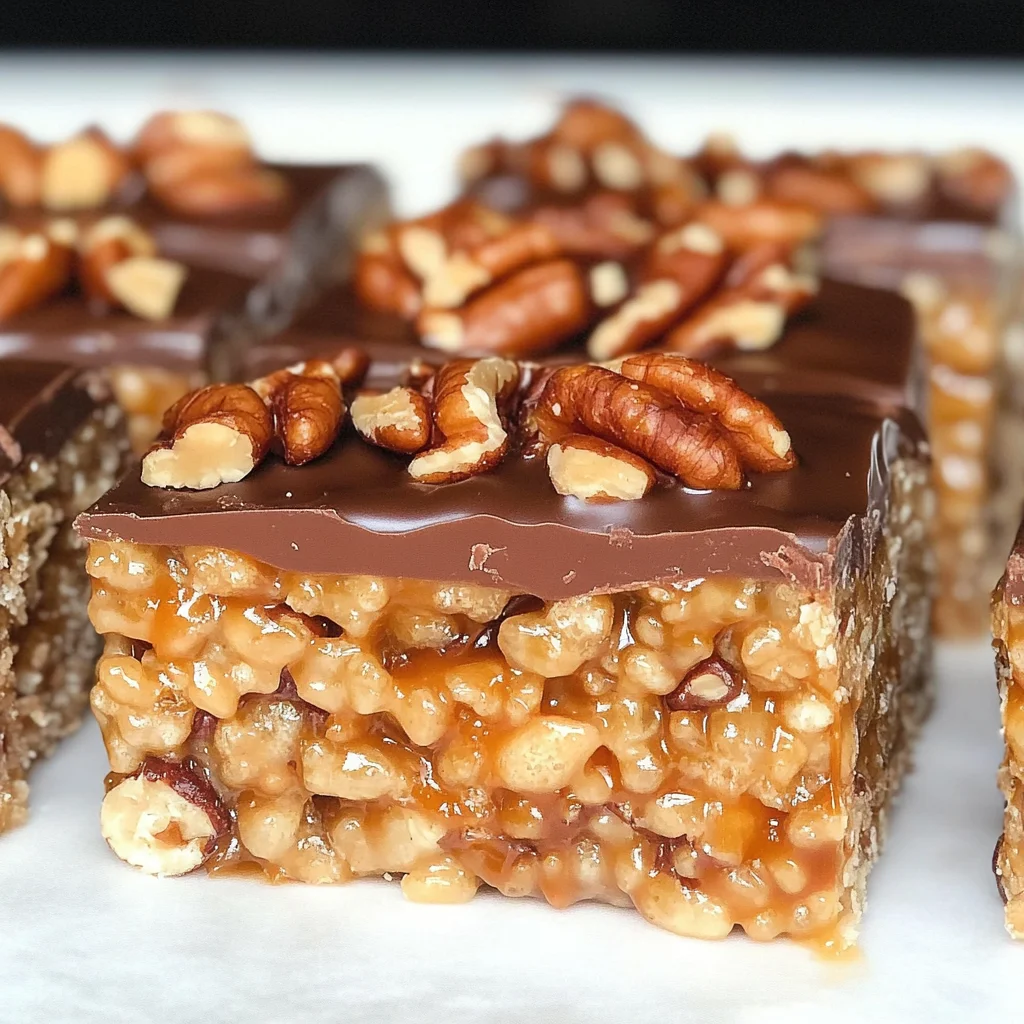
Step 9: Drizzling Chocolate and Topping with Pecans
With your caramel sauce ready to go and still warm from the stove, it’s time for one final flourish! Drizzle that luscious caramel all over your pressed Rice Krispies layer like you’re painting a masterpiece—it should cascade down like molten gold across each corner, making sure no spot is left untouched! You’ll want to reserve some caramel for topping after adding chocolate; trust me on this—it adds an extra layer of indulgence.
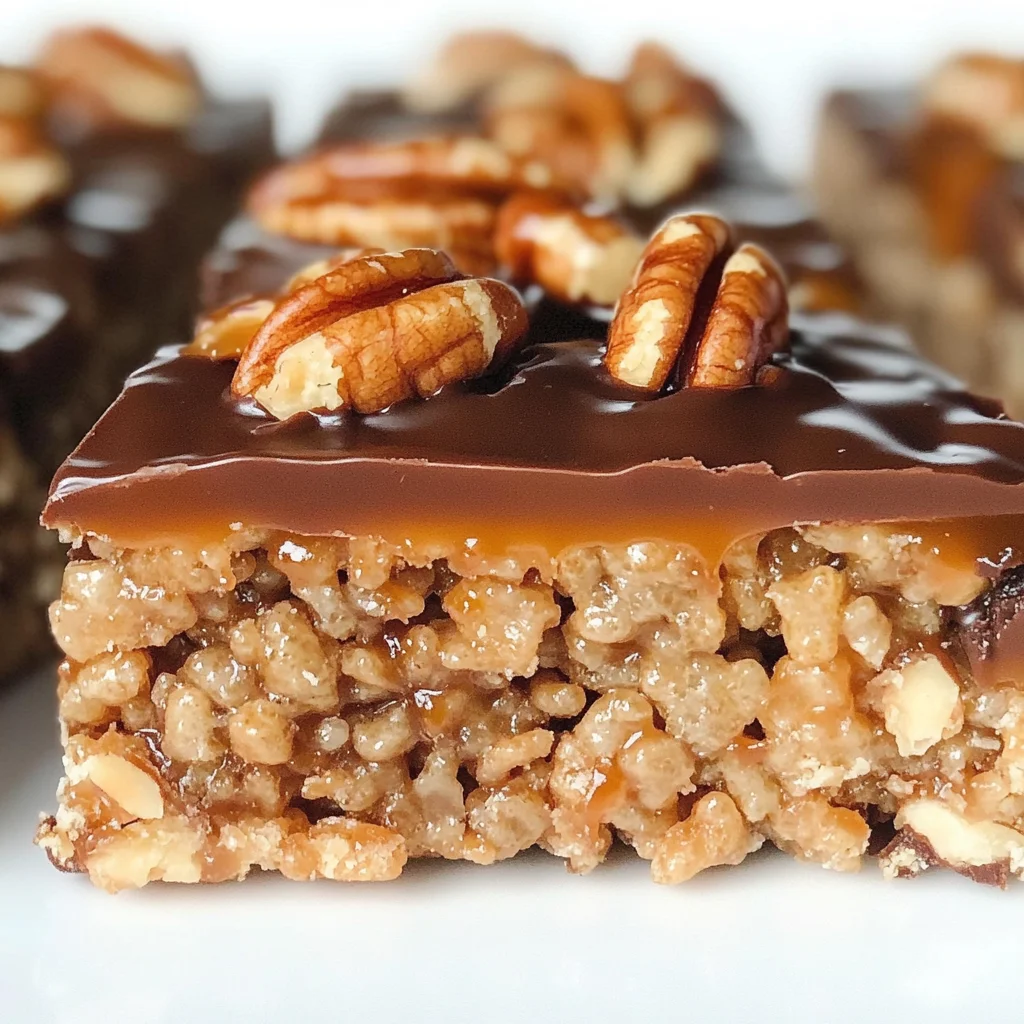
Next up, melt around 6 ounces of semi-sweet chocolate using either a double boiler method or simply microwaving in short bursts (15-20 seconds at a time), stirring in between until smoothly melted. Once you’ve got that dreamy chocolate ready to go, pour it over the caramel-covered treats; spread it out evenly using an offset spatula for that professional touch. Finally, sprinkle chopped pecans generously across the top—these crunchy jewels not only add texture but also bring in another layer of flavor that’s utterly intoxicating!
After assembling all these layers of deliciousness together, allow everything to set at room temperature or pop it into the fridge for about 15-20 minutes until firmed up nicely before cutting them into squares or rectangles—you’ll be rewarded with stunningly beautiful treats that are just waiting to be devoured!
These Caramel Turtle Rice Krispies Treats are not just desserts; they’re little bites of joy wrapped in nostalgia that will leave everyone asking for seconds—and possibly thirds! Enjoy every moment as you create these unforgettable delights; I promise they’ll become a beloved staple in your kitchen just like they are in mine!
Storage and Enjoyment Tips for Your Caramel Turtle Rice Krispies Treats
Now that you’ve whipped up these Caramel Turtle Rice Krispies Treats, it’s time to revel in the joy of sharing them (or keeping them all to yourself, no judgment here!). The beautiful thing about these treats is that they not only look stunning but also maintain their delightful texture and flavor even after some time. To store them, simply place your treats in an airtight container. Make sure it’s a container that seals well—this is crucial to keeping those crunchy morsels from becoming stale! You can keep them at room temperature for up to a week, although I promise they’ll be devoured long before that. For an extra tip, consider placing a slice of bread in the container; this little trick helps maintain moisture and keeps your treats soft and chewy. Trust me, the sweetness will still envelop your senses just like the first bite!
Storing Leftover Caramel Turtle Rice Krispies Treats
When it comes to preserving those leftover Caramel Turtle Rice Krispies Treats, proper storage is key to ensuring their deliciousness lasts. An airtight container is your best friend here; it keeps out air and moisture, which can make those treats turn soggy or hard as rocks. If you find yourself with extras after a party (or if you’re just being responsible!), they will hold up beautifully for about a week on your countertop. I’ve even discovered that if you add a slice of bread into the mix, it helps absorb any excess moisture, keeping the treats perfectly gooey without losing that satisfying crunch on top! After a few days, they might lose a bit of their original texture but trust me when I say they still taste absolutely divine. For serving suggestions, simply cut them into squares and enjoy them straight from the container or pop them into the microwave for 10-15 seconds if you want that warm, melty goodness again.
Freezing Caramel Turtle Rice Krispies Treats for Later
If you happen to have more than you can handle (which is often the case since they’re just so irresistible), freezing your Caramel Turtle Rice Krispies Treats can be an excellent option! To freeze properly, let them cool completely before wrapping each treat tightly in plastic wrap or aluminum foil. Then place them in a freezer-safe bag or container—this step is absolutely paramount to avoid freezer burn. These delightful treats can be stored in the freezer for up to three months! When you’re ready to indulge again, simply take out however many you want and let them thaw at room temperature for about 30 minutes; they’ll taste just as amazing as when you first made them! The convenience factor of having these delicious bites ready at a moment’s notice makes it easy to impress unexpected guests or curb those late-night cravings without any fuss. So go ahead and stock up—you won’t regret it!
Caramel Turtle Rice Krispies Treats

Indulge in the delightful nostalgia of Caramel Turtle Rice Krispies Treats—a scrumptious twist on a classic favorite that brings together crunchy Rice Krispies, gooey caramel, and rich chocolate. These treats are perfect for any occasion, whether you’re hosting a gathering or simply craving a sweet snack at home. Each bite offers an irresistible combination of textures and flavors, making them a go-to dessert everyone will adore. Plus, they’re easy to make and require no baking! Gather your loved ones around as you whip up these delicious bars that promise to create lasting memories.
- Prep Time: 15 minutes
- Cook Time: 10 minutes
- Total Time: 25 minutes
- Yield: Approximately 16 servings 1x
- Category: Dessert
- Method: No-bake
- Cuisine: American
Ingredients
- 7 cups Rice Krispies cereal
- 16 oz mini vegan marshmallows
- 4 tbsp butter
- 3/4 lb caramels (or vegan caramel alternative)
- 2 tbsp water
- 1/2 tsp vanilla extract
- 6 oz semi-sweet chocolate
- 3/4 cup chopped pecans
Instructions
- In a large mixing bowl, combine mini vegan marshmallows and softened butter. Melt in the microwave or over low heat until smooth.
- Gently fold in Rice Krispies cereal until coated evenly.
- In a saucepan over low heat, melt caramels with water until smooth; stir in vanilla extract.
- Press half the Rice Krispies mixture into a lined 9×13 inch baking pan, pour caramel over it, then top with remaining mixture.
- Melt chocolate and drizzle it over the top; sprinkle with pecans.
- Allow to set at room temperature or refrigerate for about 20 minutes before cutting into squares.
Nutrition
- Serving Size: 1 serving
- Calories: 160
- Sugar: 12g
- Sodium: 50mg
- Fat: 7g
- Saturated Fat: 3g
- Unsaturated Fat: 4g
- Trans Fat: 0g
- Carbohydrates: 23g
- Fiber: <1g
- Protein: <1g
- Cholesterol: 10mg