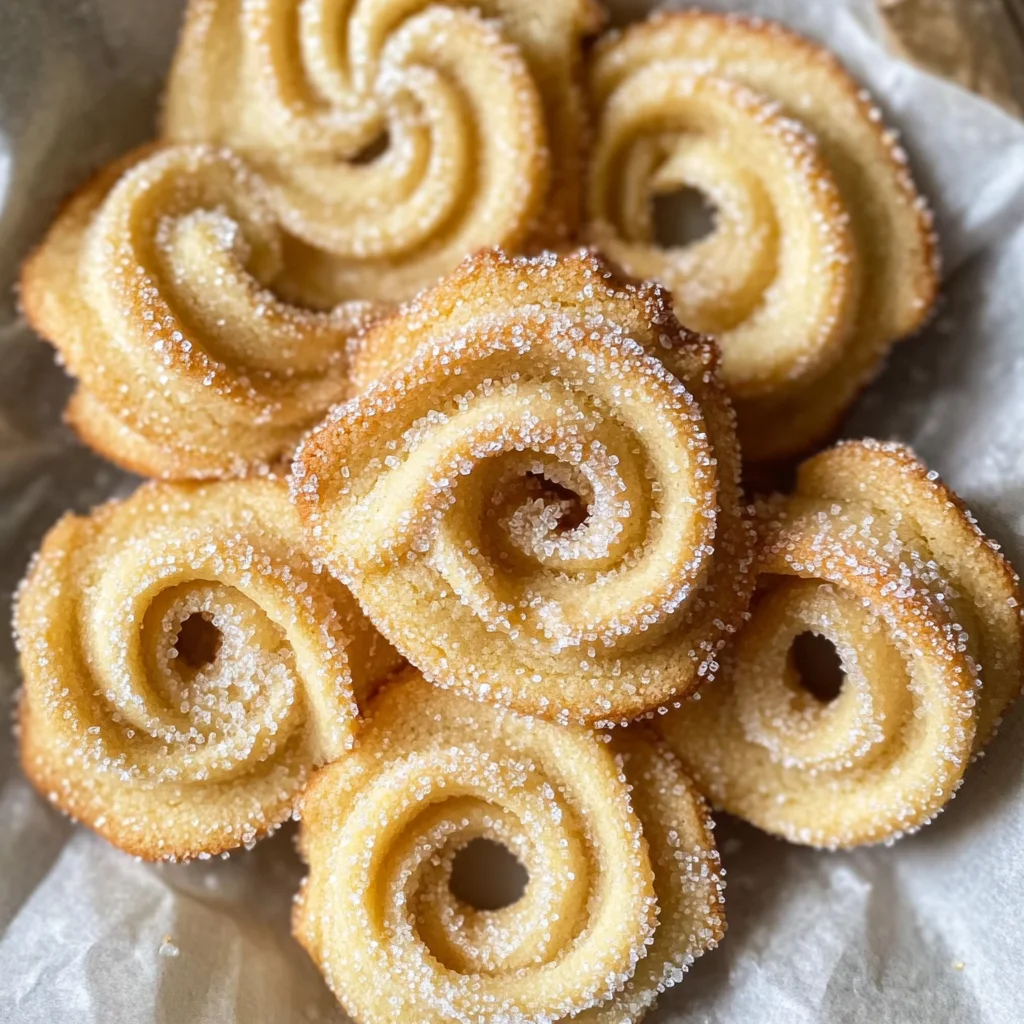
Danish Butter Cookies
If you’re looking for a delightful treat that’s perfect for sharing with friends or simply enjoying on your own, my recipe for Danish Butter Cookies is just what you need. These cookies are light, crisp, and melt-in-your-mouth delicious! They have a special place in my heart because they remind me of cozy afternoons spent with family, sipping tea and indulging in sweet treats. Plus, they’re super easy to whip up, making them ideal for busy weeknights or festive gatherings.
With just four simple ingredients, you can create these buttery delights that will impress anyone lucky enough to taste them. Whether you’re baking them for a holiday party or just treating yourself after a long day, these Danish Butter Cookies are sure to become a favorite in your home!
Why You’ll Love This Recipe
- Simple Ingredients: Only four wholesome ingredients make this recipe incredibly easy and accessible.
- Quick to Make: From start to finish, you can have fresh cookies ready in under an hour!
- Perfect for Any Occasion: Whether it’s a snack at home or a sweet gift for friends, these cookies fit right in.
- Family-Friendly: Kids love to help pipe the dough and sprinkle sugar; it’s a fun activity for everyone!
- Make Ahead: These cookies can be stored in an airtight container, making them great for meal prep.
Ingredients You’ll Need
Making Danish Butter Cookies is straightforward thanks to these simple ingredients. They are all pantry staples that come together beautifully to create a scrumptious cookie!
- ½ cup butter (at room temperature)
- ½ cup powdered sugar
- 1 teaspoon vanilla extract
- 1 cup cake flour OR all-purpose flour (See note 1)
Variations
One of the best things about Danish Butter Cookies is how flexible they are! Feel free to get creative with your flavors and presentations.
- Add some zest: A teaspoon of lemon or orange zest can add a refreshing citrus flavor.
- Sprinkle with spices: Try adding a pinch of cinnamon or nutmeg for a warm spice kick.
- Chocolate drizzle: Once cooled, drizzle melted dairy-free chocolate over the cookies for an indulgent twist.
- Use different toppings: Instead of granulated sugar, try chopped nuts or sprinkles on top before baking.
How to Make Danish Butter Cookies
Step 1: Soften the Butter
Before you start baking, take the butter out of the refrigerator at least an hour ahead of time. It should be soft enough to touch but not melted. This step is crucial because creaming the butter with sugar creates that light texture we love in cookies.
Step 2: Cream the Butter and Sugar
In a mixing bowl, cream together the softened butter, powdered sugar, and vanilla extract using either a handheld or stand mixer. Mix for about 5 to 8 minutes until the mixture becomes light in color and fluffy. This adds air into the dough, which helps achieve that perfect melt-in-your-mouth quality!
Step 3: Incorporate the Flour
Gently fold in sifted flour into the creamed mixture using a spatula. Do this gradually by adding about 1/3 cup at a time. This method ensures that you maintain that fluffy texture while getting all the flour incorporated without overmixing.
Step 4: Shape the Dough
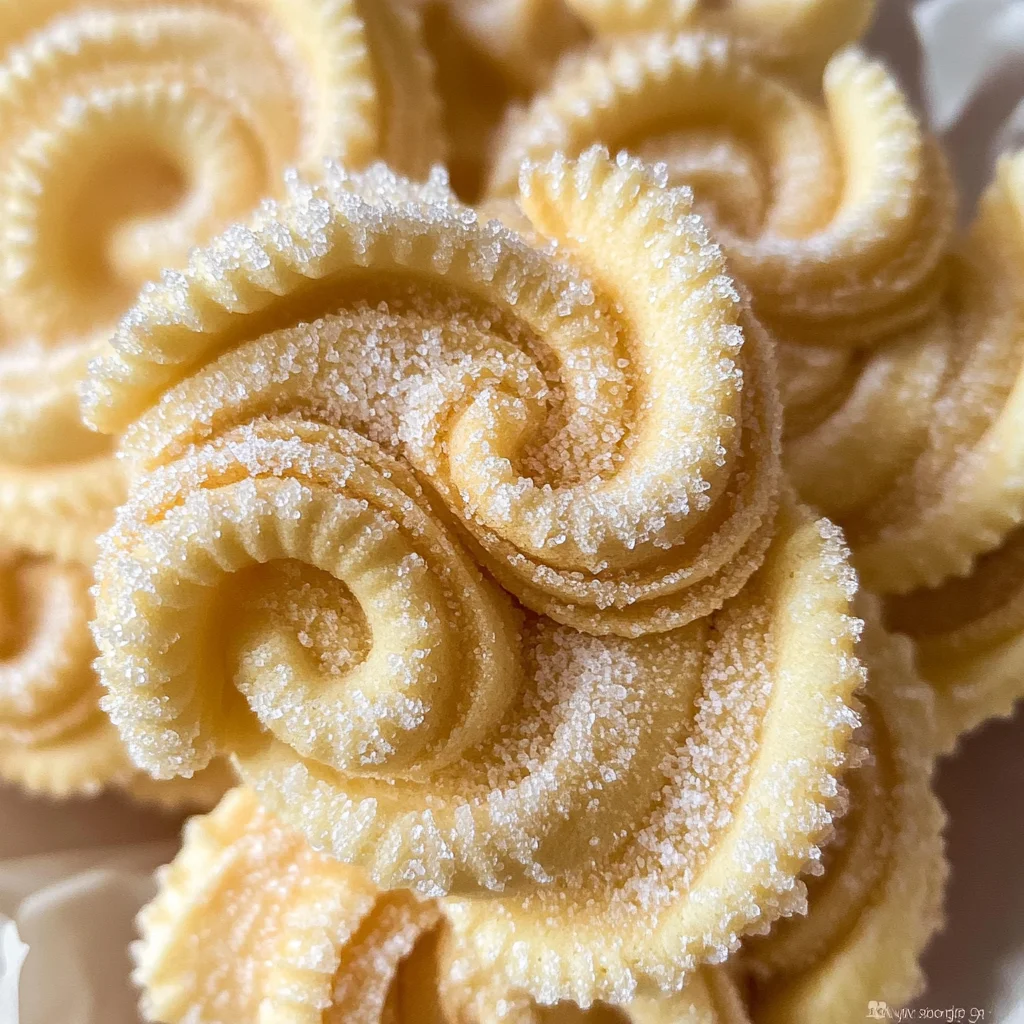
Transfer your dough onto a sheet of plastic wrap and roll it into a log shape. Cut a hole in one end of the wrap and place it into a piping bag fitted with a flower-tipped nozzle. This will give your cookies that beautiful star shape when piped.
Step 5: Pipe Your Cookies
Using your piping bag, pipe small rosettes onto a baking sheet lined with parchment paper or silicone mats. If you find your dough too stiff to pipe easily, don’t hesitate to add just a tablespoon of warm milk—this makes such a difference!
Step 6: Chill Before Baking
Place your piped cookie shapes in the refrigerator for about 30 minutes. Chilling helps keep their shape while baking so that they stay perfectly defined instead of spreading out.
Step 7: Bake Them Up!
Preheat your oven to 300°F (150°C). After chilling, pop those beauties into the oven and bake for about 15 minutes or until their edges turn golden brown. The warm aroma will fill your kitchen!
Step 8: Cool and Enjoy!
Once baked, allow your Danish Butter Cookies to cool on the baking sheet for about ten minutes before transferring them to an airtight container. They’re now ready to be enjoyed!
Pro Tips for Making Danish Butter Cookies
Making these delightful cookies is a breeze, but a few tips can elevate your baking game and ensure perfect results!
- Use room temperature butter: This is crucial for achieving the right texture. Softened butter helps to create a creamy mixture that traps air, leading to light and fluffy cookies.
- Sift your flour: Sifting not only aerates the flour but also removes lumps, resulting in a smoother dough that pipes beautifully.
- Chill your piped cookies: Allowing the dough to firm up in the refrigerator helps maintain their shape while baking. This step is essential for those lovely star shapes you want to achieve!
- Adjust with milk if needed: If your dough feels too stiff, a tablespoon of warm milk can make all the difference, making it easier to pipe without compromising texture.
- Keep an eye on baking time: Ovens can vary, so check your cookies a couple of minutes before the suggested time. You want them just golden around the edges for that perfect melt-in-your-mouth experience.
How to Serve Danish Butter Cookies
These Danish Butter Cookies are perfect for any occasion! Whether you’re hosting a gathering or enjoying a quiet afternoon treat, presenting them beautifully can make all the difference.
Garnishes
- Granulated sugar: A simple sprinkle of granulated sugar just before baking adds a delightful sweetness and sparkle.
- Chocolate drizzle: Melt some dairy-free chocolate and drizzle over cooled cookies for an elegant touch.
- Chopped nuts: Finely chopped almonds or pistachios can be sprinkled on top before baking for added texture and flavor.
Side Dishes
- Coffee or tea: Perfectly brewed coffee or herbal tea complements these cookies wonderfully and makes for a cozy pairing.
- Fresh fruit platter: Serve with slices of seasonal fruits like strawberries or apples for a refreshing contrast to the rich cookies.
- Dairy-free yogurt: A dollop of dairy-free yogurt on the side adds creaminess and balances out the sweetness of the cookies.
- Ice cream: Dairy-free vanilla ice cream makes for an indulgent dessert when paired with these crisp treats.
Enjoy your baking adventure and let these buttery delights bring joy to your table!
Make Ahead and Storage
These Danish Butter Cookies are perfect for meal prep! You can make them ahead of time and enjoy their delightful taste whenever you crave a sweet treat. Here’s how to store and handle your cookies for maximum freshness.
Storing Leftovers
- Store the cookies in an airtight container at room temperature for up to one week.
- For longer freshness, keep them in the refrigerator where they can last for up to two weeks.
Freezing
- To freeze, place the cooled cookies in a single layer on a baking sheet and freeze until solid.
- Once frozen, transfer them to a freezer bag or airtight container and label with the date. They can be enjoyed for up to three months.
Reheating
- If you prefer warm cookies, preheat your oven to 300°F (150°C).
- Place the cookies on a baking sheet and heat them for about 5 minutes or until warmed through.
FAQs
Here are some common questions about making Danish Butter Cookies.
Can I use regular flour instead of cake flour for Danish Butter Cookies?
Yes, you can substitute all-purpose flour for cake flour in this recipe. The texture may be slightly different, but they will still be delicious!
How do I make Danish Butter Cookies more flavorful?
To enhance the flavor of your Danish Butter Cookies, consider adding a pinch of salt or experimenting with different extracts, such as almond or coconut.
How long do Danish Butter Cookies last?
Danish Butter Cookies stored in an airtight container at room temperature can last up to one week. For longer storage, consider freezing them.
What makes these Danish Butter Cookies so special?
These cookies are known for their light and crisp texture. With just four simple ingredients, they are incredibly easy to make while delivering melt-in-your-mouth goodness.
Final Thoughts
I hope you enjoy making these delightful Danish Butter Cookies as much as I do! Their light texture and buttery flavor make them a special treat that’s perfect for any occasion. Whether you’re enjoying them after dinner or sharing with friends, these cookies are sure to bring smiles all around. Don’t hesitate to experiment with flavors—each batch can have its own unique twist! Happy baking!
Danish Butter Cookies
Indulge in the delightful simplicity of homemade Danish Butter Cookies, a treat that offers a perfect balance of buttery goodness and melt-in-your-mouth texture. With just four easy-to-find ingredients, these cookies are not only quick to prepare but also incredibly versatile, allowing you to customize them with your favorite flavors. Ideal for sharing or enjoying solo, they evoke cozy memories of family gatherings and festive celebrations. Whether you’re whipping them up after dinner or for a special event, these cookies will quickly become a cherished favorite in your home.
- Prep Time: 15 minutes
- Cook Time: 15 minutes
- Total Time: 30 minutes
- Yield: Approximately 24 cookies 1x
- Category: Dessert
- Method: Baking
- Cuisine: Scandinavian
Ingredients
- ½ cup butter (at room temperature)
- ½ cup powdered sugar
- 1 teaspoon vanilla extract
- 1 cup cake flour or all-purpose flour
Instructions
- Soften the butter by leaving it at room temperature for about an hour until it's creamy but not melted.
- In a mixing bowl, cream together the softened butter, powdered sugar, and vanilla extract using a mixer for 5 to 8 minutes until light and fluffy.
- Gradually fold in the sifted flour with a spatula until fully incorporated.
- Transfer the dough onto plastic wrap, roll into a log, cut a hole in one end, and fit it into a piping bag with a star nozzle.
- Pipe small rosettes onto a lined baking sheet and chill in the refrigerator for 30 minutes.
- Preheat your oven to 300°F (150°C) and bake the cookies for about 15 minutes or until golden around the edges.
- Allow to cool on the baking sheet for 10 minutes before transferring to an airtight container.
Nutrition
- Serving Size: 1 cookie (20g)
- Calories: 95
- Sugar: 5g
- Sodium: 23mg
- Fat: 5g
- Saturated Fat: 3g
- Unsaturated Fat: 2g
- Trans Fat: 0g
- Carbohydrates: 10g
- Fiber: <1g
- Protein: <1g
- Cholesterol: 15mg