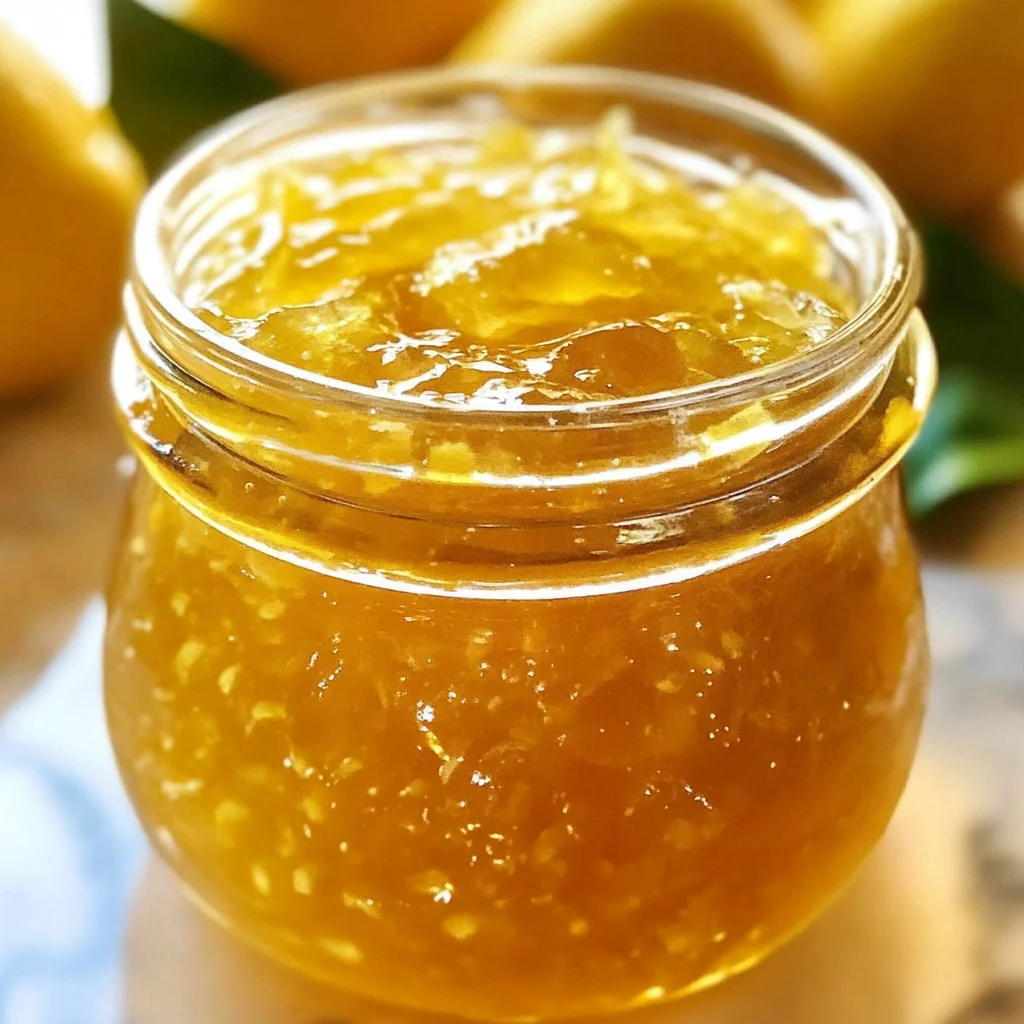
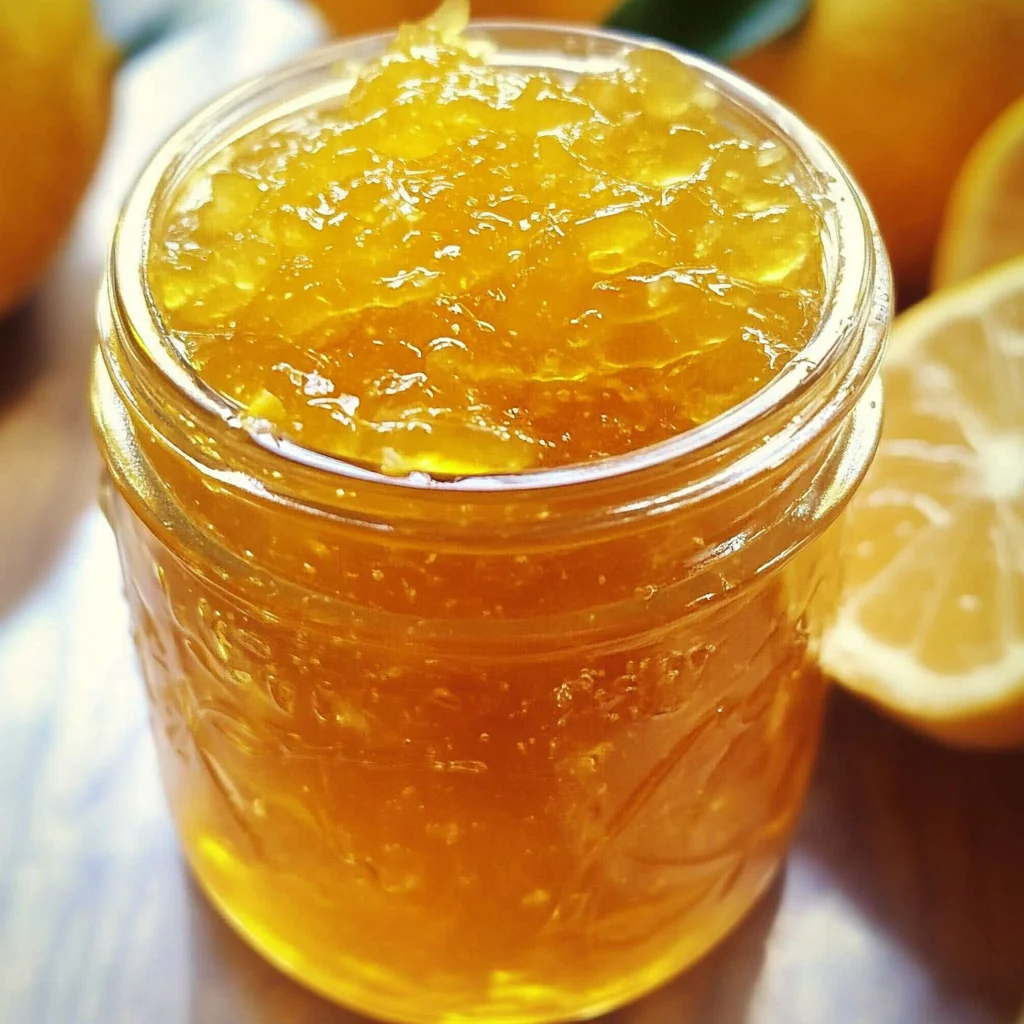
Meyer Lemon Jelly
If you’re looking for a delightful treat that captures the essence of sunshine, you’ve come to the right place! Meyer Lemon Jelly is truly a gem in my recipe collection. It’s not just about making jelly; it’s about bringing a little brightness into your day. This jelly is perfect for busy weeknights when you want to add something special to your meals or for family gatherings where everyone appreciates a sweet touch.
What makes this Meyer Lemon Jelly so special is its vibrant flavor and versatility. You can spread it on toast, use it as a filling for pastries, or even enjoy it straight from the jar with a spoon (no judgment here!). This recipe is simple enough for beginners but impressive enough to wow your guests.
Why You’ll Love This Recipe
- Easy to Make: This Meyer Lemon Jelly comes together quickly, so you can enjoy homemade goodness without spending all day in the kitchen.
- Family-Friendly: The sweet-tart flavor appeals to both kids and adults, making it a hit with everyone at the table.
- Perfect for Meal Prep: Make a batch ahead of time and have it ready whenever you need a burst of flavor in your meals or snacks.
- Deliciously Versatile: Use it in sweet and savory dishes alike—it’s great on toast, in yogurt, or as a glaze for roasted vegetables!
Ingredients You’ll Need
These ingredients are simple and wholesome—just what you need to make this delightful Meyer Lemon Jelly! You’ll find that every item plays an essential role in creating that bright, refreshing taste.
- 2 cups Meyer Lemon juice, fresh squeezed
- 2 cups water
- 1 package SureJell Pectin
- 4 1/2 cups sugar
Variations
This recipe is flexible, so feel free to get creative! Here are some fun ideas to put your own twist on this Meyer Lemon Jelly:
- Add Herbs: Consider adding fresh herbs like basil or mint during cooking for an aromatic twist.
- Mix in Other Citrus: Combine Meyer lemons with oranges or limes for a citrus medley jelly that’s bursting with flavor.
- Spice It Up: Add a pinch of ginger or cayenne pepper to create an exciting kick!
- Infuse with Tea: Steep some herbal tea (like chamomile) in the water before mixing it into the jelly for an extra layer of flavor.
How to Make Meyer Lemon Jelly
Step 1: Mix the Base
Start by mixing the Meyer lemon juice, water, and SureJell Pectin together in a large, heavy-bottom pan. This step is crucial because it forms the base of your jelly. A heavy-bottom pan ensures even heat distribution, preventing burning.
Step 2: Bring to Boil
Bring this mixture to a rolling boil and let it boil for 1 minute. Boiling activates the pectin, which helps your jelly set perfectly. Stir occasionally to keep everything well combined!
Step 3: Add Sugar
Next, add the sugar. This will sweeten your jelly and balance out the tartness of the lemons. Stir until fully dissolved before moving on.
Step 4: Final Boil
Bring the mixture back to a rolling boil and let it boil for another minute. This final boil is essential; it helps ensure that your jelly reaches the right consistency.
Step 5: Remove from Heat
Once done boiling, take the pot off the heat. It’s important not to skip this step, as cooling down too quickly can affect how well your jelly sets.
Step 6: Jar It Up
Ladle your hot jelly into sterile jars while leaving about 1/4 inch of headspace at the top. This space allows for expansion during processing and ensures airtight sealing.
Step 7: Seal Your Jars
Wipe down the rims of each jar before placing on rings and lids. Clean rims help create a good seal, keeping your delicious Meyer Lemon Jelly fresh longer!
Step 8: Process Your Jelly
Finally, process jars in a water bath canner for about 8 minutes. This step ensures that any potential bacteria are eliminated and that your jelly stays safe to eat.
Now you have homemade Meyer Lemon Jelly ready to share (or keep all to yourself)! Enjoy every spoonful!
Pro Tips for Making Meyer Lemon Jelly
Making Meyer Lemon Jelly can be a delightful experience, and with these pro tips, you’ll be a jelly-making superstar in no time!
- Use Fresh Meyer Lemons: The unique sweetness and floral notes of fresh Meyer lemons make all the difference. Look for lemons that are slightly soft to the touch as they tend to be juicier.
- Sterilize Your Jars: Properly sterilized jars prevent spoilage and ensure your jelly lasts longer. You can do this by boiling them in water for 10 minutes or running them through a dishwasher cycle.
- Measure Accurately: Precision is key in jelly making! Use measuring cups specifically for liquids to ensure you get the right amount of juice and water, helping your jelly set perfectly.
- Don’t Skimp on the Boiling Time: Follow the boiling times carefully—boiling the mixture long enough helps activate the pectin, ensuring your jelly has a good consistency.
- Cool Completely Before Storing: Allow your jars of jelly to cool completely at room temperature before transferring them to the fridge or pantry. This helps maintain their texture and flavor.
How to Serve Meyer Lemon Jelly
Meyer Lemon Jelly is such a versatile treat that can brighten up many dishes. Whether you’re spreading it on breakfast toast or using it as a flavorful ingredient in desserts, its sunny taste is sure to bring joy!
Garnishes
- Fresh Mint Leaves: A few sprigs of mint not only add color but also provide a refreshing contrast to the sweetness of the jelly.
- Thin Lemon Slices: These can be placed atop each serving for an elegant touch while enhancing that zesty lemon flavor.
Side Dishes
- Crackers: Pairing your jelly with a selection of whole grain or herb-flavored crackers creates a delightful contrast in textures and flavors; it’s perfect for an afternoon snack.
- Cream Cheese: Spread some cream cheese on toast or crackers before adding the jelly. The creamy base complements the tartness beautifully.
- Fruit Salad: A light fruit salad featuring berries, apples, and other citrus fruits makes for a refreshing side that balances out the sweetness of the jelly.
- Yogurt Parfait: Layer yogurt with granola and dollops of Meyer Lemon Jelly for a wholesome breakfast or dessert that bursts with flavor.
Enjoy exploring all these delicious ways to savor your homemade Meyer Lemon Jelly!
Make Ahead and Storage
Making Meyer Lemon Jelly is not only a delightful experience but also perfect for meal prep! You can whip up a batch in no time, and it stores beautifully, allowing you to enjoy the bright flavor of Meyer lemons long after you’ve made it.
Storing Leftovers
- Store your jars in a cool, dark place.
- Once opened, keep the jelly in the refrigerator.
- Use within 3 weeks after opening for the best flavor.
Freezing
- Although jelly can be frozen, it’s best enjoyed fresh.
- If you choose to freeze, pour cooled jelly into freezer-safe containers, leaving space for expansion.
- Use within a year for optimal taste.
Reheating
- If your jelly has thickened too much after being refrigerated, simply warm a spoonful in the microwave for 10-15 seconds.
- Stir well before using to ensure even consistency.
FAQs
Here are some common questions about making and enjoying Meyer Lemon Jelly.
Can I use other types of lemons instead of Meyer lemons?
While this recipe is specifically for Meyer Lemon Jelly, you can substitute regular lemons. However, keep in mind that the flavor will be less sweet and more tart.
How long does homemade Meyer Lemon Jelly last?
When stored properly in sealed jars, homemade Meyer Lemon Jelly can last up to one year unopened. Once opened, consume it within 3 weeks for the best taste.
Can I make Meyer Lemon Jelly without pectin?
You can make jelly without pectin by using alternative gelling agents like agar-agar or by reducing lemon juice with sugar to achieve a gel-like consistency, but results may vary.
What are some creative ways to use Meyer Lemon Jelly?
Meyer Lemon Jelly is versatile! Enjoy it on toast, swirl it into yogurt, use it as a glaze for meats or vegetables, or even mix it into salad dressings!
Final Thoughts
I hope this recipe for Meyer Lemon Jelly brings a burst of sunshine into your kitchen! It’s not just about creating a delicious treat; it’s about capturing those lovely flavors and sharing them with family and friends. Enjoy every moment of making this delightful jelly and feel free to experiment with your own twists. Happy cooking!
Meyer Lemon Jelly

Indulge in the sunny and refreshing taste of homemade Meyer Lemon Jelly, a delightful treat that captures the essence of bright citrus flavors. This recipe is perfect for anyone looking to add a touch of sweetness to their meals or snacks. With its vibrant flavor and versatility, you can spread it on toast, use it as a filling for pastries, or enjoy it straight from the jar. Whether you’re preparing a family gathering or simply want to elevate your weeknight dinners, this easy-to-follow recipe will impress both novice and experienced cooks alike.
- Prep Time: 15 minutes
- Cook Time: 10 minutes
- Total Time: 25 minutes
- Yield: Approximately 24 servings (1 jar) 1x
- Category: Dessert
- Method: Canning
- Cuisine: Homemade
Ingredients
- 2 cups fresh Meyer lemon juice
- 2 cups water
- 1 package SureJell Pectin
- 4 1/2 cups sugar
Instructions
- In a large, heavy-bottom pan, mix the Meyer lemon juice, water, and SureJell Pectin.
- Bring the mixture to a rolling boil and boil for 1 minute.
- Add sugar, stirring until completely dissolved.
- Return to a rolling boil for another minute.
- Remove from heat and let cool slightly before pouring into sterilized jars.
- Seal jars with lids and process in a water bath canner for 8 minutes.
Nutrition
- Serving Size: 1 tablespoon (20g)
- Calories: 50
- Sugar: 13g
- Sodium: 0mg
- Fat: 0g
- Saturated Fat: 0g
- Unsaturated Fat: 0g
- Trans Fat: 0g
- Carbohydrates: 13g
- Fiber: 0g
- Protein: 0g
- Cholesterol: 0mg