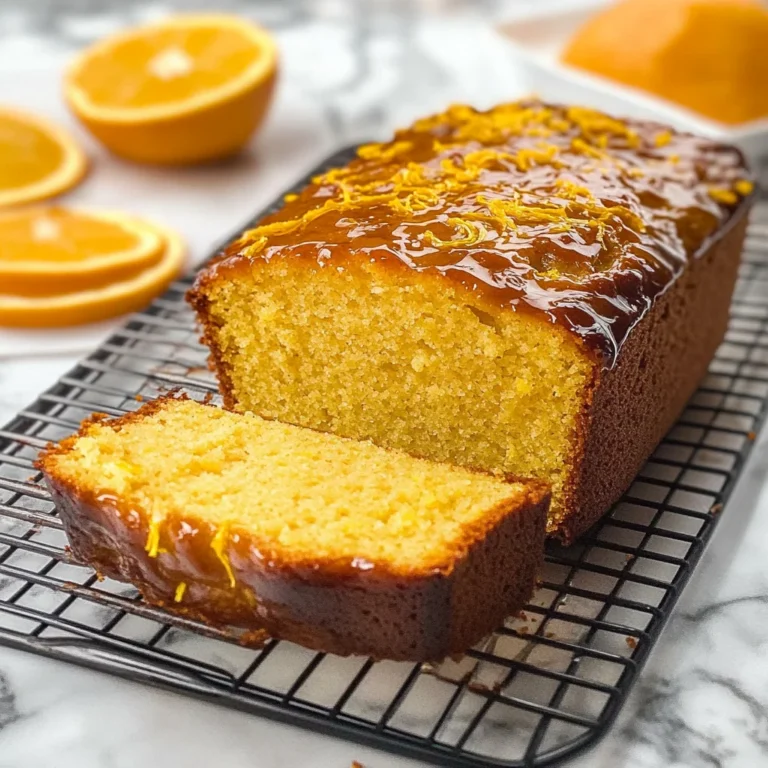
Old-Fashioned Buttermilk Donut Bars with Brown Butter Maple Vanilla Bean Glaze
There’s something undeniably nostalgic about old-fashioned buttermilk donut bars. Just saying the words brings back memories of cozy mornings at my grandmother’s farmhouse, where the scent of frying dough would drift through the kitchen before the sun had fully risen. She believed that weekends were for slowing down, for gathering family around the kitchen table, and for indulging in simple pleasures like homemade donuts — especially the kind dipped in a rich glaze, warm and dripping, waiting to be devoured with a hot cup of coffee or milk. These moments are more than just memories; they are cherished connections to family traditions and the sweetness of life itself.
These donut bars are a tribute to that timeless tradition. The tang of buttermilk gives them a tender crumb, while the deep, nutty brown butter in the maple vanilla bean glaze takes them to a whole new level of indulgence. This isn’t just a recipe — it’s an invitation to pause, bake something special, and create the kind of memories that linger long after the last crumb is gone. Whether you’re making them for a weekend brunch, a holiday breakfast, or just because, these old-fashioned buttermilk donut bars are sure to become a treasured part of your baking repertoire.
Old-Fashioned Buttermilk Donut Bars with Brown Butter Maple Vanilla Bean Glaze: A Sweet Slice of Nostalgia
Get ready to embark on a delightful culinary adventure! This recipe will transform your kitchen into a haven of warmth and sweetness as you create these delectable old-fashioned buttermilk donut bars topped with an intoxicating brown butter maple vanilla bean glaze. Trust me when I say that every bite will evoke memories and smiles from everyone who gets to enjoy them.
Ingredients:
As we dive into this recipe together, let me share the carefully chosen ingredients that make these donut bars so incredibly special. Each component plays a crucial role in creating that perfect balance of flavor and texture.
- 2 ½ cups all-purpose flour. This is our foundational ingredient, providing structure to our donut bars. When selecting flour, opt for all-purpose flour with a quality brand to ensure consistent results. It’s versatile enough for various baking projects beyond donuts! Make sure to measure it correctly by spooning it into your measuring cup and leveling it off with a knife — we want precision here for that perfect crumb!
- 2 tsp baking powder. This leavening agent is essential for giving our donut bars that lovely rise and fluffiness we crave. Fresh baking powder is key; if it’s been in your pantry too long (over six months), it might not work as effectively. Store it in a cool, dry place to maintain its potency!
- 1 tsp baking soda. Baking soda enhances browning and helps achieve that golden color along with adding softness to our bars. It’s important not to confuse this with baking powder; they have different functions! Make sure yours is fresh—just like baking powder, testing it by adding a teaspoon to vinegar can reveal its effectiveness.
- ½ tsp ground nutmeg. Ah, nutmeg—the secret ingredient that lends an enchanting aroma reminiscent of classic donut shops! It adds warmth and depth to our flavors; however, be cautious not to overdo it—a little goes a long way! Freshly grated nutmeg is even more potent if you can find it.
- 1 tsp salt. Salt might seem simple, but don’t underestimate its power! It enhances all other flavors while balancing sweetness perfectly in this recipe. Use fine sea salt for even distribution throughout your batter.
- ½ cup unsalted butter, softened. The butter creates richness and tenderness in our batter while allowing us control over the salt content since we’re using unsalted butter here. Remember—softened means at room temperature; if you’re short on time, you can cut it into small cubes or microwave it briefly (just be careful not to melt it!).
- ¾ cup granulated sugar. Sugar is not just sweetening up our bars; it’s also pivotal for creating that lovely texture through creaming with butter—this leads us towards light and airy donuts! Choose pure granulated sugar instead of any substitutes for best results.
- 2 large eggs. Eggs contribute moisture and act as binders within our batter while also enriching flavor and providing structure during baking. Room-temperature eggs mix more easily into batters than cold ones do—so if you forget to take them out beforehand, soaking them in warm water for about 10 minutes will help!
- 1 tsp vanilla extract. Vanilla extract elevates flavors across all baked goods; it’s like magic! Opt for pure vanilla extract over imitation options whenever possible since it brings richer notes into play—every drop counts!
- ¾ cup buttermilk. Buttermilk adds both tanginess and moisture while helping develop tenderness due to its acidity interacting beautifully with baking soda! If you don’t have any on hand or prefer alternatives—mix one tablespoon of lemon juice or vinegar into regular milk until it thickens slightly before using!
- ½ cup unsalted butter (for glaze). We’ll use more butter here—because who can resist? This time we’re browning it which infuses nutty flavors into our glaze that will have everyone swooning! Again—make sure it’s unsalted so we maintain control over salt levels.
- 1 ½ cups powdered sugar. Powdered sugar creates that luscious drizzle we’re looking for—it dissolves effortlessly into our glaze mixture giving us smoothness without any gritty texture! Look out for clumps when measuring so they don’t end up ruining your glazy goodness.
- 2 tbsp pure maple syrup. Pure maple syrup brings an irresistible sweetness plus earthy undertones that blend beautifully with our brown butter flavor profile—don’t settle for imitations here either!
- 1 tsp vanilla bean paste (or vanilla extract). If you can find vanilla bean paste at your local store—definitely go for it—the tiny flecks give visual appeal alongside intense flavor depth compared with regular extract alone!
- 1–2 tbsp milk (for thinning). Finally—this optional splash adjusts viscosity depending on how thick or thin you’d like your glaze; start small and add more as needed until it’s just perfect!
Equipment You’ll Need:
Before we get started mixing things up in the kitchen together, having the right tools makes this experience smoother—and trust me—it’ll feel like you’re dancing through each step! While they may not be ingredients themselves, these tools are essential partners in creating something truly wonderful.
- 9×13-inch baking pan – A must-have size for making these generous donut bars! It allows even cooking throughout while offering enough space so they won’t overcrowd each other—we want room for rising magic!
- Mixing bowls (large & medium) – Sturdy mixing bowls ensure everything blends seamlessly together without spills or messes as we move from dry ingredients into wet ones—it’s all part of keeping yourself organized during this process!
- Whisk & rubber spatula – A whisk helps aerate mixtures thoroughly while incorporating air when creaming butter/sugar together leading towards fluffy textures—while spatulas assist us transferring batters smoothly between bowls/baking pans without wasting precious dough!
- Measuring cups & spoons – Precision matters when baking so using proper measuring tools ensures consistency across batches—you wouldn’t want surprises after investing time/effort into making something delicious now would ya?
With our ingredients gathered together along with trusty equipment standing by—we’re set up nicely heading towards some glorious homemade old-fashioned buttermilk donut bars topped off perfectly by an indulgent brown-buttery glaze concoction awaiting us next…
Preparing the Old-Fashioned Buttermilk Donut Bars with Brown Butter Maple Vanilla Bean Glaze
Step 1: Preheat Your Oven & Prepare Your Pan
Let’s kick things off by preheating your oven to 350°F (175°C). This step isn’t just about getting heat ready; it ensures everything bakes evenly once we pour in our delectable batter later on! While that’s happening (and I promise you won’t regret taking this extra moment), grab your 9×13-inch baking pan—the same one we’ll use throughout—and grease it generously or line it with parchment paper if preferred—that way nothing gets left behind during transfer time post-baking glory!
Step 2: Mix Those Dry Ingredients
Next up—in comes mixing dry ingredients together within one medium-sized bowl: take note as we whisk together flour first alongside both baking powder/baking soda along with ground nutmeg & salt till combined thoroughly—you need those tiny bubbles formed from leavening agents working their magic later when combined properly within wet components so don’t rush this step! The aromatic embrace released from nutmeg should waft through your kitchen already hinting at what’s coming next…
Step 3: Cream Butter & Sugar
Now let’s switch gears as we move towards creaming softened butter (make sure it’s at room temp!) alongside granulated sugar within another large bowl until light/f fluffy peaks form—the air pockets created here allow dough rise successfully yielding tender results afterward—this process known as “creaming” is absolutely paramount since skipping could lead dense bar disappointment instead! As we add two large eggs one at-a-time allowing complete incorporation before introducing vanilla extract—you’ll see everything transform beautifully visually too—a real sense joy springs forth from watching those colors meld harmoniously…
Step 4: Incorporate Buttermilk & Dry Mixture
Now comes perhaps one of my favorite parts—is alternating adding measured amounts dry mixture alongside creamy buttermilk gently folding through using spatulas until just barely mixed together—it’s crucial not overmix though since doing so risks turning those delightful bars heavy/dense rather than light/fluffy goodness instead… So trust me on this whole ‘just combined’ idea—it might sound simple yet yields significant outcomes overall enhancing texture vastly which makes each bite truly extraordinary afterwards!
Step 5: Bake to Golden Perfection
Now comes the moment we’ve all been waiting for: baking those glorious donut bars! Once you’ve spread the batter evenly into your prepared 9×13-inch pan, take a moment to smooth the top with a spatula. This is crucial because an even surface ensures uniform baking and that delightful, golden-brown finish we crave. Slide the pan into your preheated oven, set at 350°F (175°C), and close your eyes for a second while inhaling the anticipation of what’s to come. You’ll bake these beauties for about 22-25 minutes. But don’t just set a timer and walk away; this is where you need to engage all your senses!
The bars are done when they puff up slightly and turn a beautiful golden hue. To test for doneness, insert a toothpick into the center; it should come out clean with just a few moist crumbs clinging to it — that’s how you know they’re perfect. If there’s wet batter on the toothpick, just pop them back in for another couple of minutes. Remember, every oven is different; some may run hotter or cooler than others, so keep an eye on them near the end of the baking time. The aroma wafting through your kitchen will be utterly intoxicating, a sure sign that something extraordinary is happening within those oven walls.
Step 6: Crafting Your Brown Butter Maple Vanilla Bean Glaze
While your donut bars cool completely (and trust me, you want them cool before glazing!), let’s dive into making that divine brown butter maple vanilla bean glaze — a step that will elevate these treats from delicious to truly extraordinary. In a small saucepan over medium heat, melt half a cup of unsalted butter until it begins to bubble gently. As it melts, stir it occasionally and keep an attentive eye on it because we’re looking for that magical transformation where the butter turns from pale yellow to golden brown. The nutty aroma that fills your kitchen during this process is simply enchanting! This browning happens due to the milk solids in the butter caramelizing — and oh boy, does it add depth and richness that will have everyone swooning.
Once your butter achieves that lovely golden hue and has reached its nutty peak (this usually takes about 5-7 minutes), remove it from heat immediately to prevent burning. Now it’s time to whisk in 1½ cups of powdered sugar along with 2 tablespoons of pure maple syrup and 1 teaspoon of vanilla bean paste (or extract if that’s what you have). Mixing these ingredients together creates a thick yet silky-smooth glaze reminiscent of liquid gold — so luscious! If you find that it’s too thick for your liking, don’t hesitate to stir in a splash of milk, one tablespoon at a time, until you achieve the perfect drizzling consistency. This glaze is an absolute joy; its rich flavors complement the tender crumb of the donut bars beautifully.
Step 7: Glazing Like a Pro
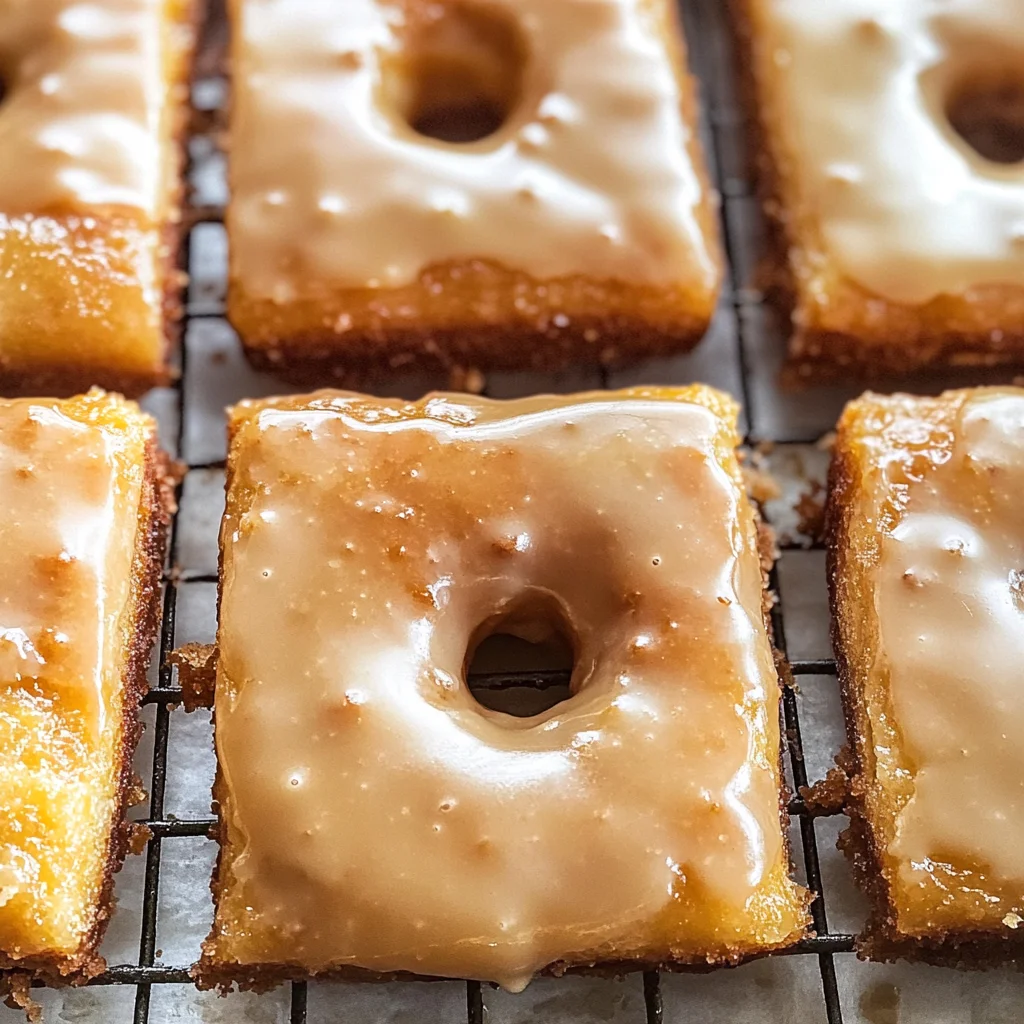
With your donut bars cooled completely and that gloriously glossy glaze ready to go, it’s time for one of my favorite steps: glazing! Pour the warm glaze generously over the cooled bars while they remain in their pan; this helps catch any drips and ensures you’re not wasting any precious glaze. Use an offset spatula or even the back of a spoon to spread it evenly across the surface, letting some cascade over the edges like little rivers of sweetness. It’s almost mesmerizing — watching how effortlessly that glaze envelops each bar in its sugary embrace.
Now here’s where patience comes into play again: let those glazed beauties sit for about 10-15 minutes before slicing into them. I know this can feel like an eternity when you’re staring at something so delectable, but allowing the glaze to set slightly will make cutting much easier and ensure each bar retains its lovely shape without losing any delicious topping. When you finally do slice into them – oh my goodness – you’ll be met with soft, tender cake underneath that shiny layer; trust me when I say it’s worth every moment you waited.
Step 8: Serving Up Sweet Memories
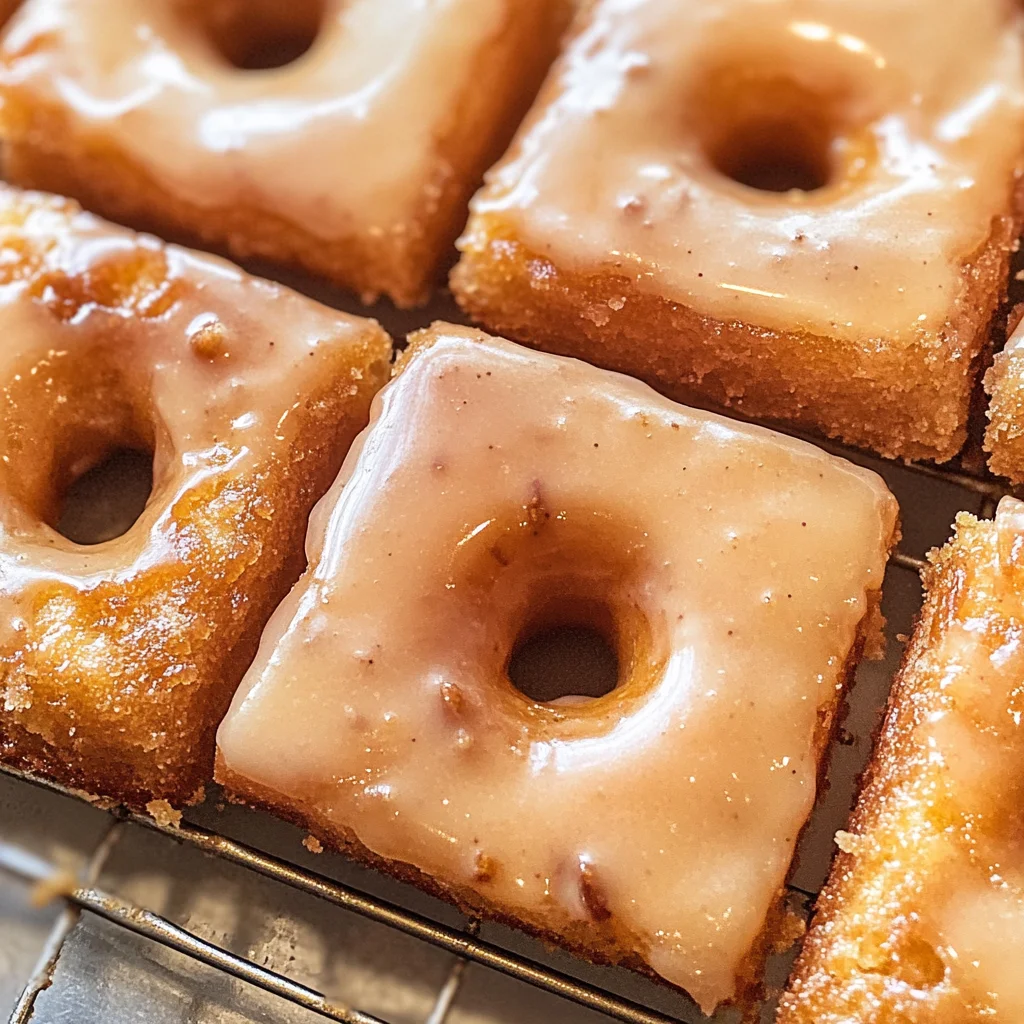
Once those glorious old-fashioned buttermilk donut bars are sliced up into generous rectangles (just like grandma used to do!), it’s time for the best part: serving them up! These treats shine brightest when paired with hot coffee or cold milk; they create this symphony of flavors that dances on your palate — truly magical! I often serve them warm right out of the pan when I’m having friends over or during cozy family gatherings because nothing beats enjoying freshly baked goods in good company.
But here’s a little secret: these donut bars are also wonderful at room temperature and can be stored in an airtight container at room temperature for several days (if they last that long!). They also freeze beautifully if you want to save some indulgence for later — simply wrap each bar individually in plastic wrap before placing them in a freezer-safe container. Whenever you’re craving something sweet or need an easy dessert option to impress guests, just pull one out and let it thaw at room temperature or warm it gently in the microwave for a few seconds.
As you take that first bite and feel all those nostalgic flavors swirl around your mouth, remember that these aren’t just donuts; they’re memories wrapped in love, waiting for you to share them with your family and friends. So roll up your sleeves, channel your inner baker, and treat yourself (and everyone around you) to these Old-Fashioned Buttermilk Donut Bars with Brown Butter Maple Vanilla Bean Glaze — I promise you won’t regret it!
Storage and Enjoyment Tips for Your Old-Fashioned Buttermilk Donut Bars with Brown Butter Maple Vanilla Bean Glaze
And just like that, your kitchen is filled with the intoxicating aroma of freshly baked old-fashioned buttermilk donut bars, ready to be enjoyed! I can almost hear the excited chatter of family and friends as they gather around to indulge in these delightful treats. Now, before you dive in headfirst into that delicious glaze, let’s talk about how to keep these beauties fresh for later. Because trust me, the joy of savoring them doesn’t have to end after just one day!
Storing Leftover Old-Fashioned Buttermilk Donut Bars with Brown Butter Maple Vanilla Bean Glaze
To ensure your old-fashioned buttermilk donut bars remain moist and delectable even after their initial glory, it’s crucial to store them correctly. Place them in an airtight container at room temperature; this will protect them from drying out while keeping that glorious glaze intact. If you’ve managed to resist eating them all in one sitting (which is no small feat!), they’ll stay fresh for about 3-4 days — but I promise you, they’re best enjoyed within the first couple of days to experience that soft, tender crumb at its peak. A little pro tip? Tossing a slice of bread into the container can work wonders in maintaining moisture; it’s like giving your donuts a warm hug! Even after storage, the flavors meld beautifully — that maple glaze becomes even richer over time. When you’re ready to enjoy another slice, simply let it come to room temperature or give it a quick warm-up in the microwave for about 10 seconds to revive that freshly baked magic.
Freezing Old-Fashioned Buttermilk Donut Bars with Brown Butter Maple Vanilla Bean Glaze for Later
If you want to prepare ahead of time or save some bars for a rainy day (because why not?), freezing is a fabulous option! To do this properly, cut the cooled donut bars into individual pieces and wrap each one tightly in plastic wrap before placing them in a freezer-safe bag or container. This way, you’ll preserve both their flavor and texture — perfect for when those cravings strike unexpectedly! They’ll keep well for up to two months frozen. When you’re ready to indulge again, simply take out what you need and let them thaw at room temperature or pop them into the microwave for a few seconds if you’re feeling impatient. Seriously, there’s something incredibly satisfying about pulling out a homemade treat from your freezer; it’s like unearthing treasure that’s just waiting to bring joy back into your day!
Old-Fashioned Buttermilk Donut Bars with Brown Butter Maple Vanilla Bean Glaze
Indulge in the warm, nostalgic flavors of Old-Fashioned Buttermilk Donut Bars with Brown Butter Maple Vanilla Bean Glaze. These delightful bars are a tribute to cherished memories of cozy mornings filled with the aroma of freshly baked treats. The tender crumb, enhanced by the tanginess of buttermilk, is beautifully complemented by a rich glaze made from nutty brown butter and pure maple syrup. Perfect for breakfast, brunch, or simply as a sweet treat any time of day, these donut bars are sure to become a beloved addition to your baking repertoire. Gather your loved ones and enjoy these delicious bars that will create lasting memories around the kitchen table.
- Prep Time: 15 minutes
- Cook Time: 25 minutes
- Total Time: 40 minutes
- Yield: Approximately 12 servings 1x
- Category: Dessert
- Method: Baking
- Cuisine: American
Ingredients
- 2 ½ cups all-purpose flour
- 2 tsp baking powder
- 1 tsp baking soda
- ½ cup unsalted butter (softened)
- ¾ cup granulated sugar
- 2 large eggs
- ¾ cup buttermilk
- ½ cup unsalted butter (for glaze)
- 1 ½ cups powdered sugar
- 2 tbsp pure maple syrup
Instructions
- Preheat your oven to 350°F (175°C) and grease a 9×13-inch baking pan.
- In a medium bowl, whisk together flour, baking powder, baking soda, nutmeg, and salt.
- In a large bowl, cream softened butter and sugar until light and fluffy. Add eggs one at a time, incorporating well after each addition. Stir in vanilla extract.
- Alternately add dry mixture and buttermilk to the wet ingredients, mixing until just combined.
- Spread batter evenly in the prepared pan and bake for 22-25 minutes until golden brown; check doneness with a toothpick.
- Allow bars to cool completely before glazing.
- For the glaze, melt butter in a saucepan until golden brown; whisk in powdered sugar, maple syrup, and milk until smooth. Pour over cooled bars.
Nutrition
- Serving Size: 1 serving
- Calories: 280
- Sugar: 20g
- Sodium: 150mg
- Fat: 12g
- Saturated Fat: 7g
- Unsaturated Fat: 4g
- Trans Fat: 0g
- Carbohydrates: 37g
- Fiber: <1g
- Protein: 3g
- Cholesterol: 40mg