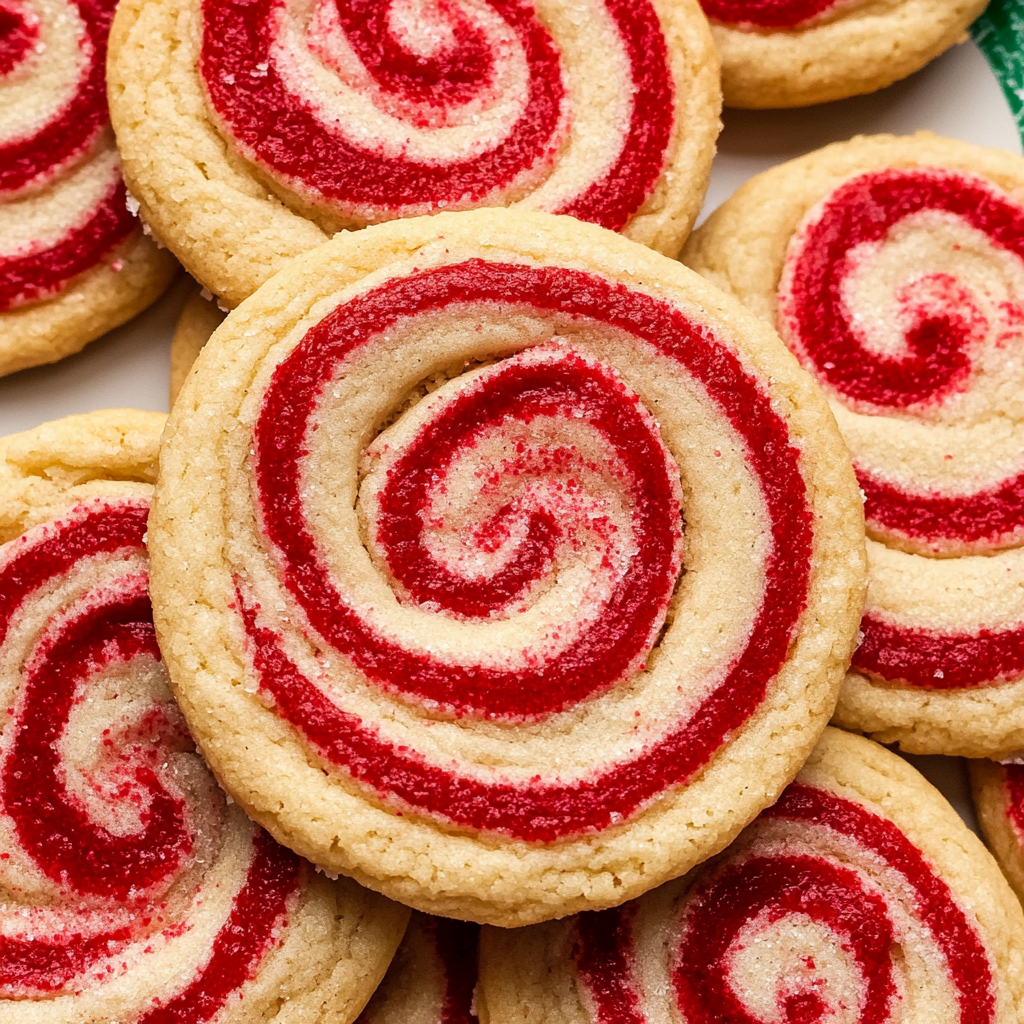
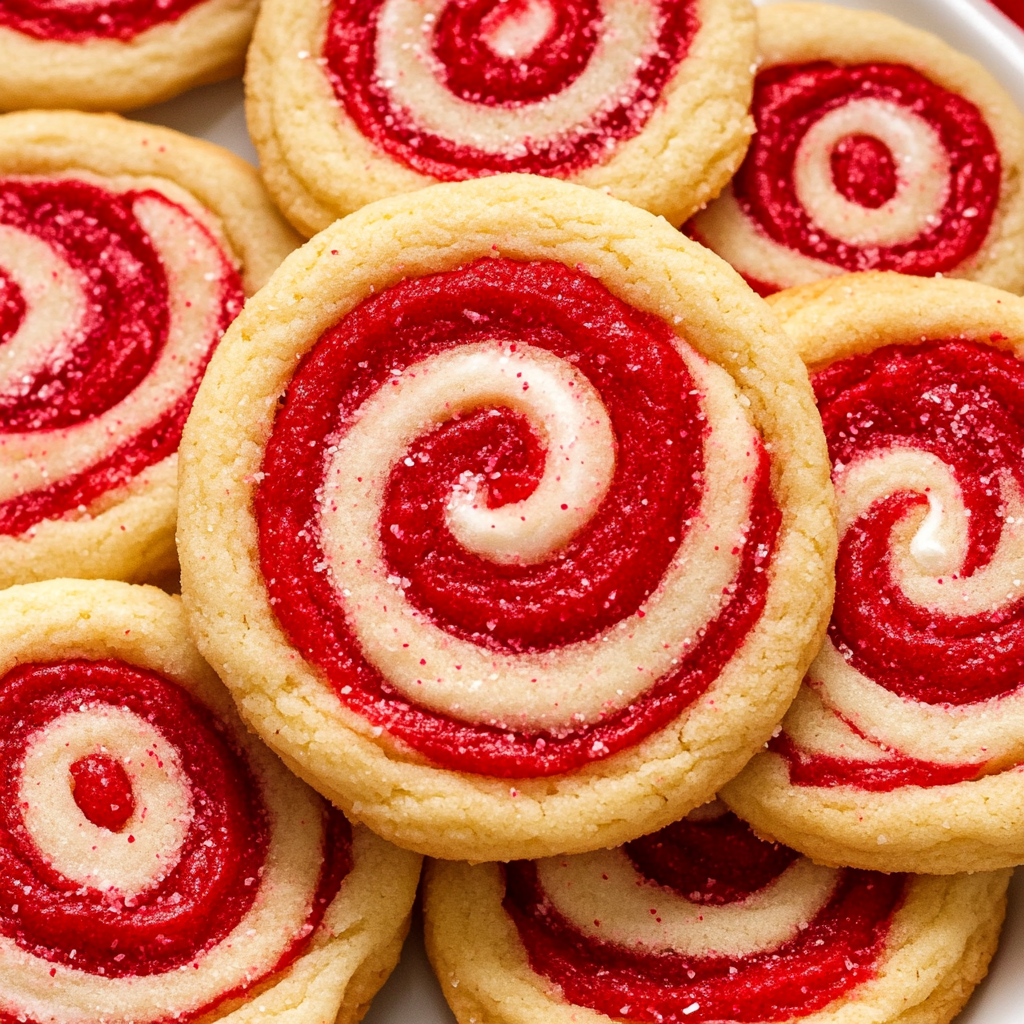
Peppermint Swirl Cookies
If you’re looking for a delightful holiday treat that’s sure to bring a smile, these Peppermint Swirl Cookies are just the ticket! The vibrant red and white swirls not only make these cookies look festive but also pack a punch of refreshing peppermint flavor. This recipe is one of my all-time favorites because it combines simplicity with a touch of whimsy—perfect for family gatherings or cozy nights in. Plus, they are a hit with kids and adults alike, making them an excellent choice for any occasion.
Baking these cookies is more than just about the final product; it’s about creating memories in the kitchen. Imagine rolling out the dough with your loved ones, sharing giggles as the bright red color gets everywhere. Whether you’re hosting a holiday party or just want to indulge in something sweet on a busy weeknight, Peppermint Swirl Cookies will be your go-to recipe!
Why You’ll Love This Recipe
- Easy to make: With straightforward steps and common ingredients, you can whip these up even on the busiest days.
- Family-friendly fun: Kids will love helping with the rolling and decorating. It’s a great way to bond!
- Perfect for gifting: These cookies look beautiful on a platter and make lovely homemade gifts during the holiday season.
- Make ahead convenience: You can prepare the dough in advance and bake when you’re ready, saving time on busy days.
- Deliciously festive flavor: The peppermint essence combined with sweet buttery goodness makes every bite feel like a celebration!
Ingredients You’ll Need
Let’s gather some simple, wholesome ingredients to create these delightful Peppermint Swirl Cookies! You probably have many of these items in your pantry already:
- 2 and 1/2 cups all-purpose flour
- 1 teaspoon baking powder
- 1/2 teaspoon salt
- 1 cup (2 sticks) unsalted butter, softened
- 1 cup granulated sugar
- 1 large egg
- 1 teaspoon vanilla extract
- 1 teaspoon peppermint extract
- Red gel food coloring
- 1/4 cup coarse sugar or crushed peppermint candies for coating
Variations
This recipe is wonderfully flexible! Feel free to get creative with different flavors and colors. Here are some fun ideas:
- Try different extracts: Swap out peppermint for almond or lemon extract for a unique twist!
- Add chocolate chips: Fold in some mini chocolate chips to give your cookies an extra layer of sweetness.
- Go gluten-free: Substitute all-purpose flour with your favorite gluten-free blend for a tasty alternative!
- Change up the colors: Use green gel food coloring instead of red for a different festive look!
How to Make Peppermint Swirl Cookies
Step 1: Prepare the Dry Ingredients
In a medium bowl, whisk together the flour, baking powder, and salt. This step is essential as it evenly distributes the leavening agent and ensures that your cookies rise beautifully.
Step 2: Cream Butter and Sugar
In a large bowl, use an electric mixer to cream together the softened butter and granulated sugar until light and fluffy. This aeration is key because it creates that delightful texture we all love in cookies. Beat in the egg next, followed by both extracts—vanilla and peppermint—to infuse that amazing flavor.
Step 3: Combine Wet and Dry Ingredients
Gradually add your dry mixture into the creamed butter mixture while mixing on low speed until just combined. Be careful not to overmix; we want our dough soft but not tough!
Step 4: Color Your Dough
Divide your dough in half—leave one half plain while adding red gel food coloring to the other half until uniform in color. This step is what creates those stunning swirls later on!
Step 5: Chill Your Dough
Wrap each ball of dough separately in plastic wrap and chill them in the refrigerator for at least 30 minutes. Chilling helps firm up the dough so it doesn’t stick when you roll it out.
Step 6: Roll Out Your Dough
On a lightly floured surface, roll out both portions of dough into rectangles about 10×12 inches and 1/4 inch thick. Be sure they are roughly equal in size so that they layer nicely!
Step 7: Layer Your Dough
Carefully lay one rectangle directly atop the other and gently press them together. This layering will create those beautiful swirls.
Step 8: Roll Into a Log
Starting from one long side, roll tightly into a log shape. Press gently as you roll to eliminate air pockets; this keeps everything neat inside.
Step 9: Chill Again
Wrap this log tightly in plastic wrap again and chill for at least two hours. This second chilling is crucial—it keeps those gorgeous swirls intact when slicing.
Step 10: Preheat Oven
Preheat your oven to 375 degrees F (190 degrees C) while you get ready to slice those cookies up!
Step 11: Coat Your Log
Once chilled, remove from the fridge. If desired, brush lightly with water or whisked egg white before rolling it in coarse sugar or crushed peppermint candies for extra sparkle.
Step 12: Slice Cookies
Using a sharp knife, slice into rounds about 1/4 inch thick. Place them on prepared baking sheets about an inch apart—this space allows them room to spread!
Step 13: Bake
Bake for about 8 to 10 minutes or until edges are lightly golden but don’t overbake! We want soft centers.
Step 14: Cool Down
Let them cool on baking sheets for just a few minutes before transferring them onto wire racks to cool completely. Enjoy every bite of these festive Peppermint Swirl Cookies!
Pro Tips for Making Peppermint Swirl Cookies
Baking can be a delightful adventure, and these tips will ensure your Peppermint Swirl Cookies turn out beautifully every time!
- Use room temperature ingredients: Starting with softened butter and room temperature egg helps create a smooth and creamy mixture, which results in better texture and flavor.
- Chill the dough thoroughly: Don’t skip the chilling steps! Chilling the dough not only makes it easier to handle but also helps keep those lovely swirls intact when you slice them.
- Don’t overmix the dough: Mixing just until combined prevents gluten development, which keeps your cookies tender and soft rather than tough.
- Cut with a sharp knife: A sharp knife will give you clean edges when slicing the log. This is crucial for maintaining the beautiful swirl patterns in each cookie.
- Experiment with food coloring: If you want to get creative, try using different colors or even a mix of colors to make these cookies festive for any occasion!
How to Serve Peppermint Swirl Cookies
These Peppermint Swirl Cookies are not only delicious but also visually stunning! Here are some fun ideas on how to present them for sharing or enjoying at home.
Garnishes
- Crushed peppermint candies: Sprinkling a few extra crushed candies on top adds a festive touch and enhances the peppermint flavor.
- Drizzled white chocolate: A light drizzle of melted white chocolate creates an elegant finish that complements the cookies’ flavors beautifully.
Side Dishes
- Hot cocoa: Nothing beats pairing these cookies with a warm cup of hot cocoa. The rich chocolate flavor balances out the minty freshness perfectly.
- Vanilla ice cream: Serve these cookies alongside a scoop of vanilla ice cream for a delightful contrast in temperature and texture.
- Fruit salad: A refreshing fruit salad can add a burst of color and freshness, making it a perfect light accompaniment to your sweet treats.
- Coffee or tea: Offering a nice cup of coffee or herbal tea enhances the overall experience, allowing flavors to meld beautifully while enjoying your cookies.
With these serving suggestions, your Peppermint Swirl Cookies will surely become the highlight of any gathering! Enjoy baking!
Make Ahead and Storage
These Peppermint Swirl Cookies are perfect for meal prep, allowing you to whip up a batch in advance and enjoy them later. Here’s how to keep your cookies fresh and delicious!
Storing Leftovers
- Store the baked cookies in an airtight container at room temperature for up to a week.
- For optimal freshness, place parchment paper between layers if stacking them.
Freezing
- Freeze the unbaked dough log by wrapping it tightly in plastic wrap and placing it in a freezer-safe bag. It can be stored for up to 3 months.
- Alternatively, freeze the baked cookies in a single layer on a baking sheet, then transfer them to an airtight container once solid.
Reheating
- To eat frozen cookies, let them thaw at room temperature for about 30 minutes.
- For warm cookies, reheat them in a preheated oven at 350°F (175°C) for 5-7 minutes.
FAQs
If you have questions about making Peppermint Swirl Cookies, you’re not alone! Here are some common inquiries:
Can I use different extracts instead of peppermint extract?
Absolutely! You can substitute peppermint extract with other flavors like almond or vanilla for a unique twist.
How do I ensure my Peppermint Swirl Cookies have vibrant swirls?
The key is to chill the dough before rolling it out and again after shaping the log. This helps maintain sharp color contrasts without blending.
How long can I store my Peppermint Swirl Cookies?
You can store baked cookies in an airtight container for up to one week. If they last that long!
Can I make these cookies gluten-free?
Yes! Substitute all-purpose flour with a gluten-free blend that measures cup-for-cup.
Final Thoughts
I hope you find joy in making these delightful Peppermint Swirl Cookies! They’re not just visually stunning but also encapsulate the warmth of the holiday season. Whether you’re sharing them with friends or keeping them all to yourself, they’re sure to bring smiles. Enjoy baking and savor every delicious bite!
Peppermint Swirl Cookies
If you’re on the lookout for a festive treat that encapsulates the spirit of the holiday season, look no further than these delightful Peppermint Swirl Cookies. With their vibrant red and white swirls, they not only bring a splash of color to your dessert table but also burst with refreshing peppermint flavor. This easy-to-follow recipe is perfect for family gatherings or cozy nights at home. Ideal for kids and adults alike, these cookies make wonderful gifts and are sure to become an annual tradition in your kitchen!
- Prep Time: 30 minutes
- Cook Time: 10 minutes
- Total Time: 40 minutes
- Yield: Approximately 24 cookies 1x
- Category: Dessert
- Method: Baking
- Cuisine: American
Ingredients
- 2 and 1/2 cups all-purpose flour
- 1 teaspoon baking powder
- 1/2 teaspoon salt
- 1 cup unsalted butter, softened
- 1 cup granulated sugar
- 1 large egg
- 1 teaspoon vanilla extract
- 1 teaspoon peppermint extract
- Red gel food coloring
- 1/4 cup coarse sugar or crushed peppermint candies for coating
Instructions
- In a medium bowl, whisk together flour, baking powder, and salt.
- In a large bowl, cream the softened butter and sugar until light and fluffy. Add the egg, vanilla extract, and peppermint extract; mix well.
- Gradually add the dry ingredients to the wet mixture until just combined.
- Divide dough in half; color one half with red gel food coloring.
- Chill both portions of dough wrapped in plastic wrap for at least 30 minutes.
- Roll out each portion into rectangles (10×12 inches) and layer them on top of each other.
- Tightly roll into a log shape, wrap again in plastic wrap, and chill for 2 hours.
- Preheat oven to 375°F (190°C). Brush log with water or egg white and roll in coarse sugar or crushed peppermint candies if desired.
- Slice into rounds (about 1/4 inch thick), place on baking sheets, and bake for 8-10 minutes or until edges are lightly golden.
Nutrition
- Serving Size: 1 cookie
- Calories: 120
- Sugar: 9g
- Sodium: 40mg
- Fat: 7g
- Saturated Fat: 4g
- Unsaturated Fat: 3g
- Trans Fat: 0g
- Carbohydrates: 13g
- Fiber: <1g
- Protein: <1g
- Cholesterol: 20mg