Grilled Chicken Breast
There’s something truly magical about cooking, isn’t there? When the sun is shining, and the air is filled with laughter and warm breezes, grilling becomes more than just a method of cooking; it transforms into a cherished ritual that brings friends and family together. The sizzle of chicken on the grill, the aromatic blend of herbs mingling in the air, and the anticipation of that first juicy bite—it’s an experience that captures not only the essence of summer but also our hearts. This Grilled Chicken Breast recipe is not merely about feeding your body; it’s about nourishing your spirit, creating memories around a table laden with vibrant colors and flavors. With each bite, you’re invited to savor a symphony of tastes that celebrates simplicity while delivering profound satisfaction.
As I share this recipe with you, I want to emphasize that it’s remarkably versatile. Picture this: you take the grilled chicken breasts and slice them up for a refreshing salad on a hot day or serve them alongside comforting sides like pasta salad and cucumber tomato salad during a family gathering. It’s this adaptability that has woven this dish into my culinary repertoire—perfect for gatherings or quiet weeknight dinners. Trust me when I say, once you master this grilled chicken breast recipe, it will become your go-to meal for any occasion, leaving your guests raving and asking for seconds!
Grilled Chicken Breast: The Ultimate Summer Delight
Let’s dive into making this delicious Grilled Chicken Breast! I promise you’ll fall in love with how easy it is to create a dish that bursts with flavor and showcases the beauty of fresh ingredients.
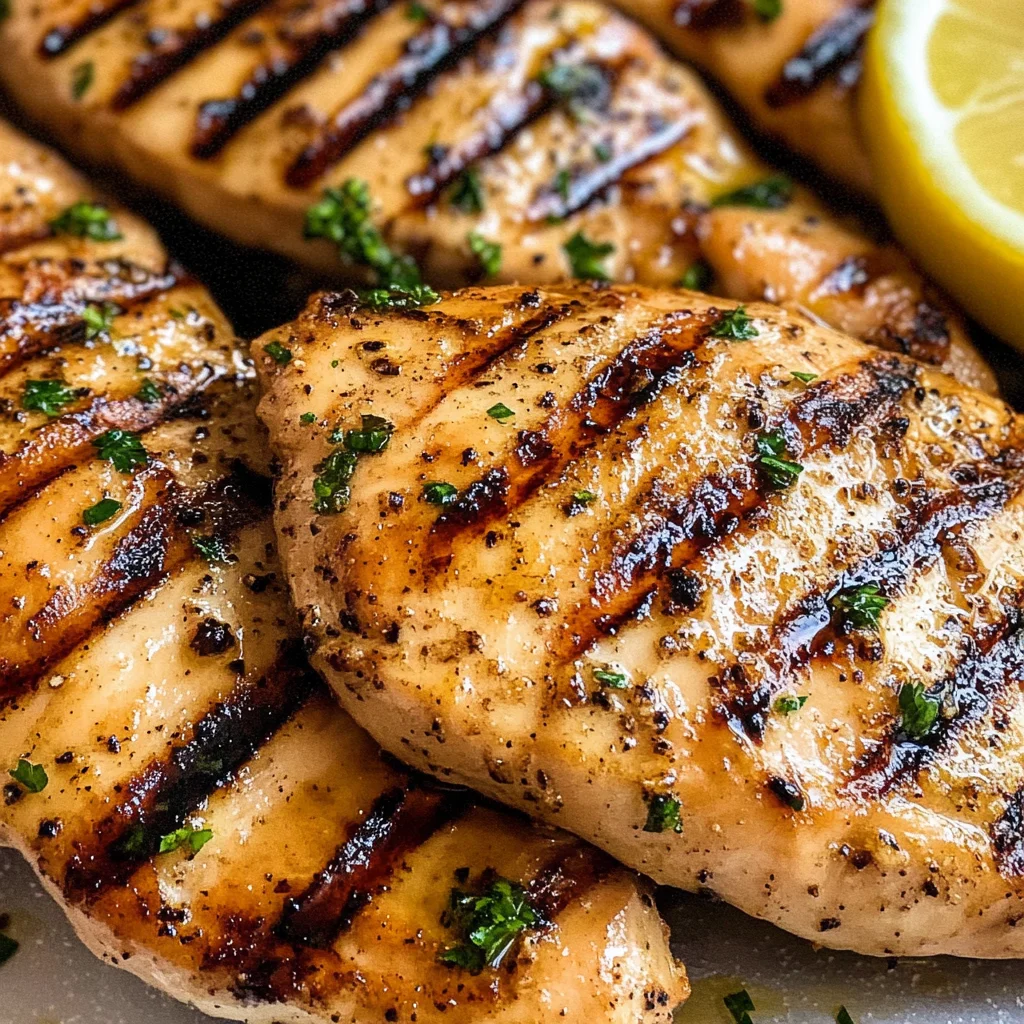
Ingredients:
Embarking on this culinary journey means gathering some essential ingredients that will elevate our grilled chicken to extraordinary heights. Each item plays a pivotal role in crafting an unforgettable meal.
- ¼ cup olive oil: This liquid gold is indispensable in our marinade; it acts as a carrier for flavors while ensuring our chicken remains moist during grilling. Quality matters here—opt for extra virgin olive oil if you can; its robust flavor enhances every bite. Plus, it brings heart-healthy fats to the table! Think of olive oil as your cooking companion; it not only delivers taste but also helps create that wonderful golden-brown crust we all adore.
- ¼ cup fresh lemon juice: Freshly squeezed lemon juice adds a bright acidity that cuts through the richness of the chicken, bringing balance to each bite. The natural tanginess works beautifully with olive oil, creating an emulsion that coats our chicken evenly. Don’t opt for bottled lemon juice—freshness is key here! The zesty aroma alone will awaken your senses and transport you right into summer!
- 3 cloves garlic (minced): Garlic is the aromatic powerhouse in this marinade; its pungent essence transforms under heat, becoming sweet and caramelized while adding depth to our dish. When preparing garlic, be sure to mince it finely so its flavor permeates every inch of the chicken breast. It’s important not to rush this step; allow yourself those few extra moments to really get that garlic fragrant before mixing it into your marinade.
- 1 teaspoon dried oregano: Oregano brings an herbaceous note that beautifully complements both lemon and garlic in our marinade. Its earthy flavor profile makes it one of my favorite herbs for grilling—it resonates with warm weather barbecues! If possible, choose high-quality dried oregano or even fresh if you’re lucky enough to have access; fresh herbs have an intoxicating brightness that’s hard to beat.
- ¼ teaspoon chili powder: A dash of chili powder adds just enough warmth without overwhelming the dish—consider it your secret ingredient! It provides a subtle kick perfect for summer grilling without making things too spicy. You can adjust this based on your preference; if you’re feeling adventurous, try adding smoked paprika instead for an extra layer of flavor!
- ½ teaspoon salt: Salt is non-negotiable in any recipe; it enhances flavors and ensures our chicken isn’t bland. Be mindful not to skimp here—this little bit encourages all those lovely flavors from your marinade to shine bright!
- ½ teaspoon pepper: Just like salt, freshly cracked black pepper rounds out the flavor profile beautifully. It adds warmth without being overpowering; use freshly ground pepper for optimal taste—it makes all the difference!
- 4 boneless, skinless chicken breasts (about 2 pounds): Choose high-quality chicken breasts—look for ones that are plump with minimal bruising or discoloration. We want tender meat that will soak up all those flavorful marinades and cook evenly on the grill! Pounding them down ensures they cook consistently rather than having some parts overdone while others remain undercooked—a crucial step that’s often overlooked!
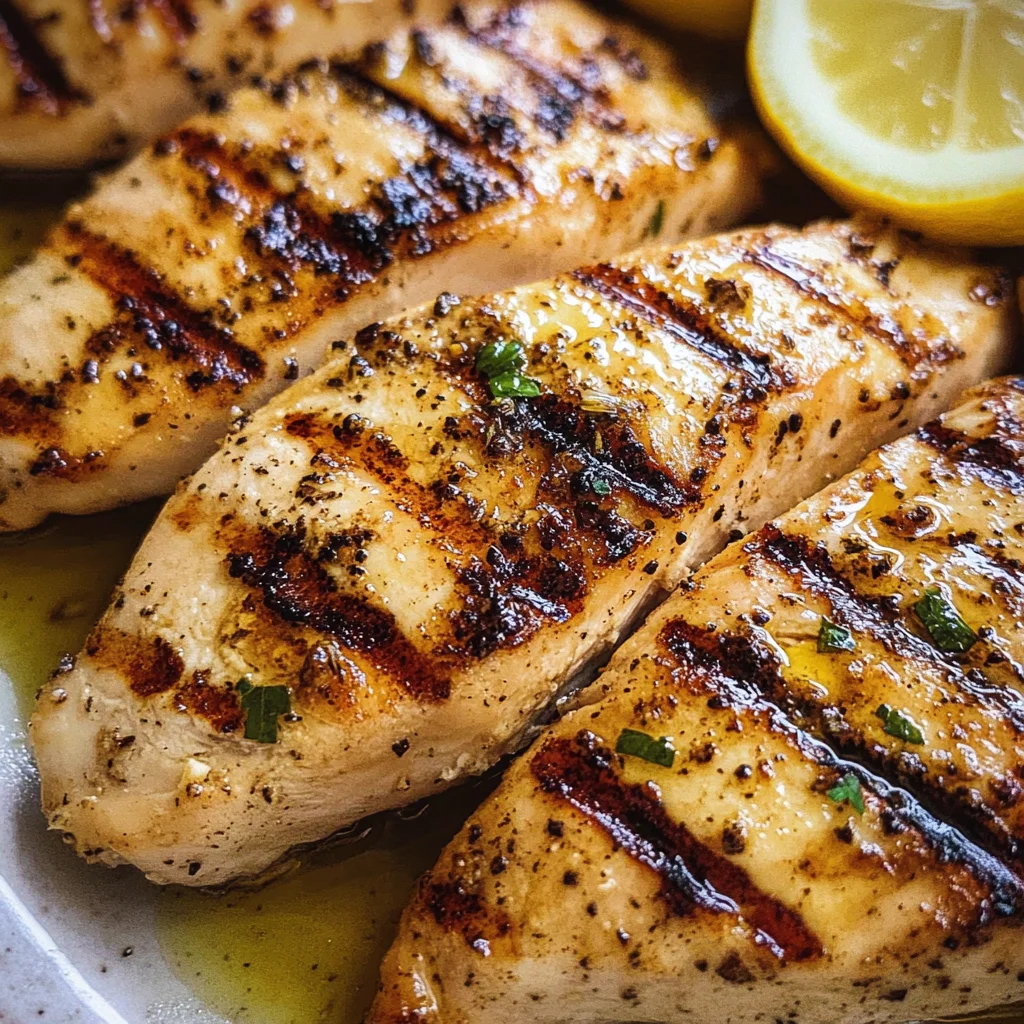
Equipment You’ll Need:
Having the right tools at your side makes all the difference when cooking! These essential partners will help you create something wonderful.
- Grill (gas or charcoal): Your grill is where all the magic happens! Whether you’re using gas or charcoal depends on personal preference—both can produce delicious results when used correctly. Gas grills allow for easy temperature control while charcoal adds a smoky depth that’s hard to replicate otherwise.
- Zip-top plastic bag: This humble kitchen tool serves as your marinating vessel—it keeps everything contained while allowing flavors to mingle beautifully as they infuse into our chicken! If you don’t have one on hand, a shallow baking dish will work too—just make sure you flip those breasts occasionally so they marinate evenly.
- Meat mallet or rolling pin: Pounding out your chicken breasts ensures even thickness for uniform cooking and tenderness. A meat mallet is ideal but if you don’t have one handy—a rolling pin works just fine!
- Whisk: A simple yet indispensable tool for emulsifying our marinade ingredients together seamlessly. If you don’t have one available at home, a fork can do wonders too—just make sure everything gets well combined!
Now that we’ve gathered our ingredients and tools together let’s prepare this succulent grilled chicken breast!
Step 1: Whisking Up Our Flavorful Marinade
In a small bowl, combine your olive oil, fresh lemon juice, minced garlic, dried oregano, chili powder, salt, and pepper. Using a whisk (or fork), blend these ingredients until they are well incorporated into each other—the goal here is an emulsion where oil meets acid seamlessly! This process creates an utterly intoxicating aroma as all those flavors mingle together—a scent so inviting it’ll make anyone eager for dinner! Take time with this step because it’s crucial—the balance between acidic brightness from lemon juice and richness from olive oil sets up everything else perfectly.
Step 2: Preparing Our Chicken Breasts
Next comes one of my favorite steps: prepping those beautiful chicken breasts! Place them inside a zip-top plastic bag (or baking dish), then gently pound them using either a meat mallet or rolling pin until they are about ½-inch thick throughout—that’s what we call evening out their thickness! Don’t rush through this step; gently pounding helps tenderize the meat while also allowing marinades to penetrate better during soaking time which promises juicy results later on.
Step 3: Marinating Magic
Now pour all that luscious marinade over your pounded chicken within its bag (or dish). Seal tightly if using plastic—the idea here is letting each piece bathe in those zesty flavors intimately by turning occasionally during marination time! Ensure everything gets coated well before placing it into either another bowl or baking dish (just in case!), then stash away in fridge anywhere from 30 minutes up until two hours max depending upon how much time you’ve got today—this chill time allows flavors meld beautifully while also working their way deep into our proteins!
Step 4: Prepping Your Grill
While waiting patiently during marination phase let’s get our grill ready! Clean those grates thoroughly using either grill brushes designed specifically for such purposes—or simply crumpled foil does wonders too if needed quickly—as we want nothing but clean surfaces when grilling begins! After cleaning comes oiling grates lightly so nothing sticks—trust me when I say prevention goes far here—and heating up accordingly until reaching medium-high temperatures around 375°F -450°F degrees Fahrenheit depending upon type being utilized…
Stay tuned as we continue transforming these marinated beauties into deliciously charred perfection next!
Step 5: Grilling to Perfection
Now that your chicken breasts have marinated and soaked up all those incredible flavors, it’s time to fire up the grill! This step is where the magic happens, transforming those simple ingredients into a delicious masterpiece. Before you start grilling, it’s absolutely paramount to ensure your grill is clean and well-oiled. Not only does this prevent sticking, but it also helps create those beautiful, charred grill marks that everyone loves. Heat your grill to a medium-high temperature, ideally between 375 and 450 degrees Fahrenheit; this range is crucial because it allows the chicken to sear beautifully while ensuring it cooks evenly through the center. Once the grill reaches that perfect heat, gently oil the grates using a paper towel dipped in a bit of olive oil—this will keep your chicken from sticking and make for easier flipping.
When you place your chicken on the grill, listen for that satisfying sizzle—it’s music to any cook’s ears! Grill each side for about 5 to 8 minutes. But here’s a tip: start cooking the chicken on the hotter part of the grill first. This initial high heat will sear the outside of the chicken, locking in those juices and creating a delightful crust that enhances flavor immeasurably. After a few minutes, when you see those gorgeous grill marks forming (think golden brown with crispy edges), feel free to move them to a slightly cooler section of the grill. This technique not only helps protect against overcooking but also allows the inside to reach that ideal juicy tenderness without burning on the outside. Trust me on this: patience during grilling pays off. If you’re unsure about doneness, use an instant-read thermometer—you’re aiming for an internal temperature of 165 degrees Fahrenheit.
Step 6: The Importance of Resting
Once your grilled chicken breast reaches that magic number on the thermometer, it’s time for one more critical step before digging in: resting! It can be tempting to slice right into them as soon as they come off the heat—after all, they smell utterly intoxicating—but please resist that urge for just a few moments longer. Letting your chicken rest for about 5 minutes is essential because this allows the juices within to redistribute throughout each piece. If you cut into it immediately, those precious juices will run out onto your cutting board instead of staying inside where they belong. The result? A drier piece of chicken rather than one that’s succulent and juicy—a pitfall we want to avoid at all costs!
During this resting period, you can take a moment to set your table or prepare any side dishes you’ve planned—perhaps some fresh summer salads or a zesty pasta salad? The anticipation builds as you watch those flavors meld together even more while cooling slightly before slicing. Remember, patience is key in cooking; good things come to those who wait!
Step 7: Slicing with Care
Now comes one of my favorite parts: slicing into that beautifully grilled chicken breast! To get started, lay your rested chicken on a cutting board and grab a sharp knife—this is not just any knife; a sharp one will glide effortlessly through without tearing apart your masterpiece. It’s crucial to slice against the grain of the meat; this simple technique shortens muscle fibers and results in tender bites rather than tough ones that require more chewing effort. Look closely at your chicken; identify which way the fibers are running and then make clean cuts across them.
As you slice through, take in all those gorgeous colors—the hint of golden-brown exterior complemented by juicy white meat beneath—it’s truly a sight! And don’t forget about presentation; arrange these beautiful slices on a platter or individual plates with an eye for detail—perhaps add some sprigs of fresh herbs or lemon wedges for that extra touch of elegance and flair.
Step 8: The Grand Finale – Serving Suggestions
The moment has finally arrived! Your perfectly grilled chicken breast is ready to shine at your dining table! Now let’s talk about how best to serve this dish so that it becomes an unforgettable centerpiece for any meal. I absolutely love pairing it with bright summer sides like cucumber-tomato salad or herbaceous pasta salad because they complement the lightness of grilled chicken wonderfully while adding vibrant colors and textures to your plate. You might consider drizzling some extra virgin olive oil over everything or squeezing fresh lemon juice right before serving—it elevates every bite into something truly extraordinary.
And if you’re looking for versatility here (and who isn’t?), sliced grilled chicken can be used in so many creative ways! Toss it onto mixed greens for an easy main dish salad topped with nuts and cheese—or even mix it into pasta with fresh veggies for a quick weeknight dinner that feels special without requiring hours in the kitchen. Whatever direction you choose, I promise you’ll be met with smiles around your table when everyone takes their first bite of these succulent pieces bursting with flavor.
Final Thoughts on Your Grilled Chicken Breast Journey
As you sit down with family and friends enjoying this delightful grilled chicken breast dish together, reflect on how far you’ve come—from gathering ingredients and marinating them lovingly to mastering grilling techniques and finally presenting something beautiful and delicious. Cooking is not just about sustenance; it’s about connection—the laughter shared over meals prepared with care makes every bite more profound and satisfying.
So next time someone asks how you made such amazing grilled chicken breasts, share this recipe with pride—and don’t forget to tell them about all those little tips along the way that made it possible! Happy cooking, my friends!
Storage and Enjoyment Tips for Your Grilled Chicken Breast
And just like that, your Grilled Chicken Breast is ready to take center stage on your dinner table! The tantalizing aroma wafting through your kitchen is a promise of the delicious experience that awaits. But what if you have leftovers or want to savor this dish later? Don’t you worry, because I’ve got some wonderful tips for enjoying this beautiful creation even after the grill has cooled down.
Storing Leftover Grilled Chicken Breast
To keep your grilled chicken breast fresh and flavorful, you’ll want to store it in an airtight container. Glass containers with tight-fitting lids are my go-to because they don’t absorb odors and help maintain moisture. If you’re using plastic, opt for BPA-free options to ensure safety. Once properly sealed, you can store your chicken in the refrigerator for up to four days. Now, here’s a pro tip: placing a slice of bread in the container can help absorb excess moisture, keeping the chicken juicy without drying out! When you’re ready to enjoy it again, just pop it into the microwave or heat it gently on the stove over low heat; trust me when I say that even after storage, this grilled chicken retains its delightful flavor and tenderness. It’s like having a little piece of summer ready to brighten any day!
Freezing Grilled Chicken Breast for Later
If you’re thinking ahead and want to save some of that luscious grilled chicken for future meals, freezing is a fantastic option! Simply allow the chicken to cool completely before wrapping each piece tightly in plastic wrap or aluminum foil. Then place them in a freezer-safe bag or container—be sure to label it with the date so you know how long it’s been there! Properly stored, your grilled chicken can last up to three months in the freezer without losing its mouthwatering charm. When you’re ready to use it, just take it out of the freezer and let it thaw overnight in the fridge; it’s as simple as that! This convenience means you can always have a tasty meal on hand without any last-minute stress, perfect for those busy weeknights when time is of the essence.
Grilled Chicken Breast

Grilled Chicken Breast is a delightful summer staple that transforms simple ingredients into a mouthwatering dish perfect for any occasion. The zesty marinade, featuring fresh lemon juice and aromatic herbs, infuses each chicken breast with vibrant flavors that sing of sunny days and outdoor gatherings. Whether you’re hosting a backyard barbecue or preparing a quick weeknight dinner, this recipe is versatile and easy to master.
- Prep Time: 15 minutes
- Cook Time: 15 minutes
- Total Time: 30 minutes
- Yield: Serves approximately four people 1x
- Category: Main
- Method: Grilling
- Cuisine: American
Ingredients
- ¼ cup olive oil
- ¼ cup fresh lemon juice
- 3 cloves garlic (minced)
- 1 teaspoon dried oregano
- ¼ teaspoon chili powder
- ½ teaspoon salt
- ½ teaspoon pepper
- 4 boneless, skinless chicken breasts (about 2 pounds)
Instructions
- In a small bowl, whisk together olive oil, lemon juice, garlic, oregano, chili powder, salt, and pepper until well combined.
- Place the chicken breasts in a zip-top plastic bag or shallow dish. Gently pound them to an even thickness of about ½ inch.
- Pour the marinade over the chicken, seal tightly or cover the dish, and refrigerate for at least 30 minutes up to two hours.
- Preheat your grill to medium-high heat (375°F – 450°F). Clean and lightly oil the grates.
- Grill the marinated chicken for about 5 to 8 minutes per side until cooked through with an internal temperature of 165°F.
- Remove from grill and let rest for about 5 minutes before slicing against the grain.
Nutrition
- Serving Size: 1 chicken breast (170g)
- Calories: 284
- Sugar: 0 g
- Sodium: 685 mg
- Fat: 12 g
- Saturated Fat: 1.7 g
- Unsaturated Fat: 9 g
- Trans Fat: 0 g
- Carbohydrates: 2 g
- Fiber: 0 g
- Protein: 47 g
- Cholesterol: 135 mg