Grilled Corn on The Cob
There’s something utterly magical about summer evenings when the sun begins to set, casting a warm golden hue over everything it touches. The air is filled with laughter, the enticing aroma of grilled food wafts through the garden, and there’s a sense of community as friends and family gather around. One dish that captures this essence beautifully is Grilled Corn on The Cob. This humble yet extraordinary vegetable transforms into a sweet, charred delight that sings of summer with every bite. When you take a juicy kernel bursting with flavor, you’re not just tasting corn; you’re savoring memories of barbecues past, camping trips under starry skies, and lazy afternoons spent outdoors.
Grilling corn is more than just a method of cooking; it’s an experience that bridges tradition and innovation. I’ve always been captivated by how this simple vegetable can become a star player in any meal, be it a casual weeknight dinner or an elaborate BBQ gathering. The process of grilling corn creates a symphony of flavors—the smoky char mingling with the natural sweetness of the kernels is simply divine. Trust me on this: once you master this technique, you’ll find yourself serving it at every opportunity, and your guests will be coming back for seconds (and thirds!). So let’s embark on this delightful culinary journey together and make some spectacular Grilled Corn on The Cob!
Grilled Corn on The Cob: A Summer Essential
This recipe for grilled corn on the cob is not only easy but also remarkably versatile! It’s perfect as a side dish for any summer gathering or even as a quick snack when you’re craving something fresh and flavorful. Whether you’re hosting a barbecue or enjoying a quiet evening at home, this dish brings joy to your table. The best part? It requires minimal ingredients while still delivering maximum satisfaction.
Ingredients:
As we dive into this recipe, let’s take a moment to appreciate our ingredients. Each one plays its part beautifully in creating something truly delicious.
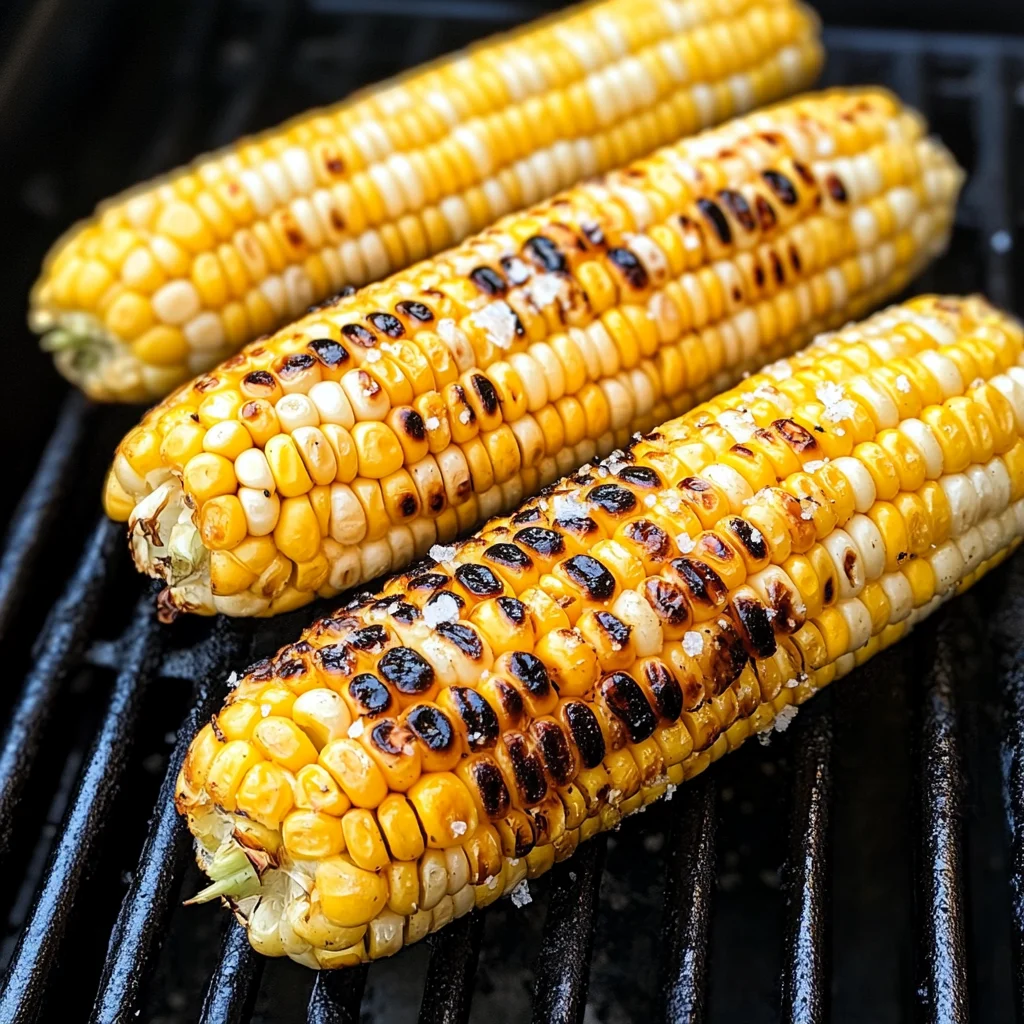
- 4 medium ears corn (silks removed and peeled) – When selecting corn for grilling, look for ears that feel heavy for their size with tightly wrapped husks. Freshness is key; you want those kernels to be plump and sweet! Corn loses its natural sugars quickly after being harvested, so try to grill them soon after purchasing for that peak sweetness. This ingredient is non-negotiable; it provides that juicy crunch that makes each bite memorable. If you can find organic corn, even better—its flavor is often richer and more complex.
- Olive oil spray – A light mist of olive oil before grilling helps to create that lovely caramelization on the outside while keeping the inside tender and juicy. Not only does it enhance flavor, but it also prevents sticking to the grill grates—a crucial step in achieving those beautiful grill marks without losing any precious kernels! If you’re looking for alternatives, avocado oil works wonderfully too due to its high smoke point.
- Salt to taste (optional) – While I often enjoy my grilled corn simply seasoned with its natural flavors shining through, a sprinkle of salt can elevate your experience dramatically. Salt enhances sweetness and rounds out the flavors beautifully—this small detail can turn an ordinary ear of corn into something extraordinary! I recommend trying different salts as well; flaky sea salt or infused varieties can add exciting layers to your dish.
Equipment You’ll Need:
Having the right tools makes all the difference in your cooking adventures! While these items may not be “ingredients,” they are essential partners in creating your stunning grilled corn masterpiece.
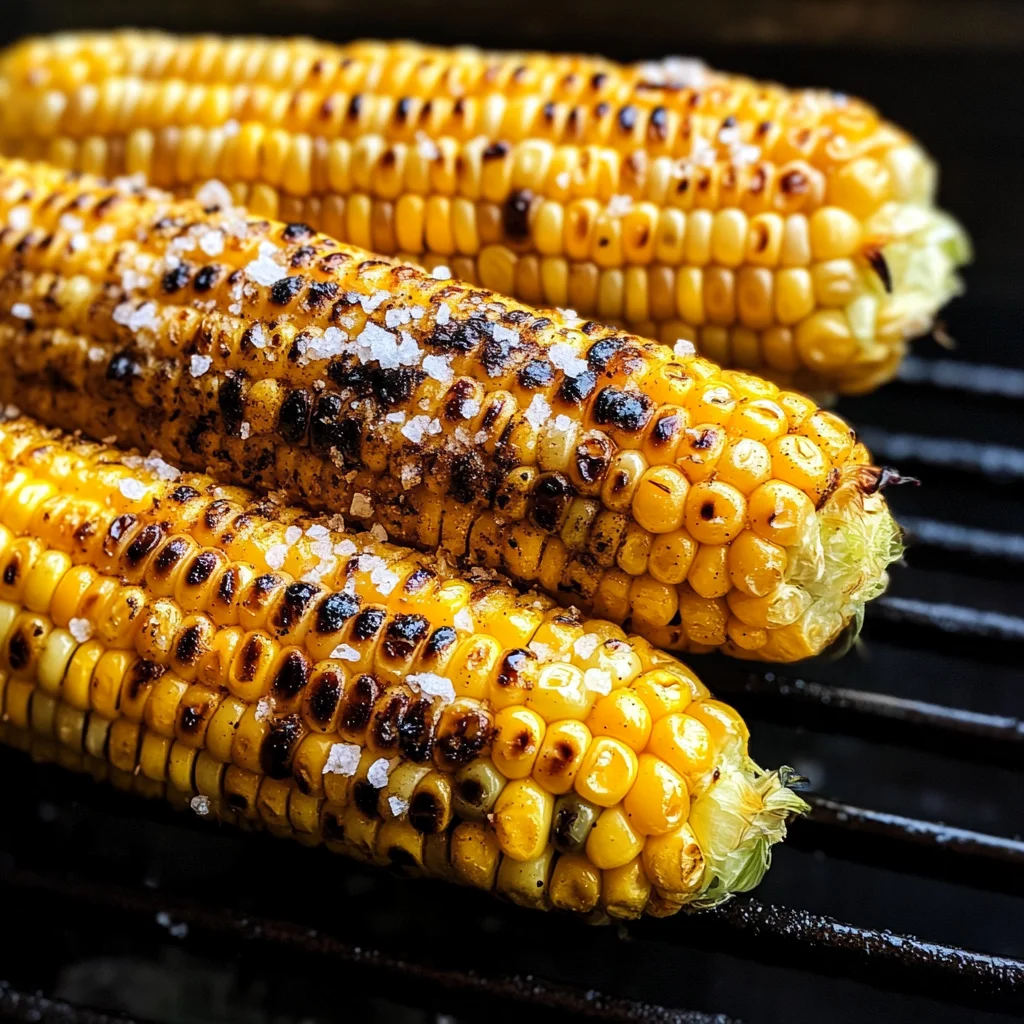
- Grill (Gas or Charcoal) – Your primary tool for this recipe! A good grill allows you to achieve that coveted smoky flavor while charring the corn perfectly. Gas grills offer convenience and control over heat levels, while charcoal grills impart an authentic smoky essence that many adore. Whichever you choose, preheating your grill is crucial as it ensures even cooking.
- Basting Brush – This handy tool will help us apply olive oil evenly across all sides of the corn without drenching it. Even if you’re using spray oil, having a basting brush handy allows for precision application—ensuring each kernel gets just enough love without overwhelming it with grease!
- Tongs – A sturdy pair of tongs is vital for flipping those ears with grace while avoiding burns! Look for ones that have a good grip and are heat-resistant so you can manage everything effortlessly.
Now that we’ve gathered our ingredients and equipment, let’s get started on preparing our delectable grilled corn!
Step 1: Prepping Your Corn
Begin by removing the husks from your ears of corn; peeling away those silks can sometimes feel like unwrapping a gift! Take care to remove every last strand because they can burn on the grill and give off an unpleasant taste—a step that’s absolutely paramount to ensure pure enjoyment later on! Once your ears are clean and ready to go, give them a good rinse under cool water to refresh them before grilling; this step helps remove any lingering grit from their journey home from the market.
Step 2: Preparing the Grill
While you’re prepping your corn, it’s time to focus on your grill too! Preheat it over medium-high heat until it’s nice and hot—this usually takes about 10-15 minutes depending on whether you’re using gas or charcoal. Why do we want such high heat? Well, we’re aiming for those beautiful char marks which add flavor and visual appeal! Once heated up properly, use tongs to clean the grates with a grill brush; this ensures no remnants from previous meals stick to your glorious ears of corn!
Step 3: Oiling Up
Now comes one of my favorite parts—the seasoning! Lightly coat each ear of corn with olive oil spray (or use your basting brush if preferred). Make sure every inch gets some love here because this will help develop those gorgeous char marks while keeping moisture locked inside during grilling. Remember: don’t rush this step! Ensuring even coverage allows all sides to caramelize beautifully without burning—trust me when I say you’ll want every kernel bursting with flavor!
Step 4: Grilling Your Corn
Place your oiled corn directly onto those sizzling grates at an angle—this will create stunning grill marks that add both aesthetic appeal and texture once cooked! Grill each ear for about 10-15 minutes total; turn them every few minutes so they cook evenly on all sides—watching them slowly transform into golden perfection is utterly intoxicating! You’ll know they’re ready when you see vibrant charred spots forming all over—the smell alone will have everyone eagerly waiting around the grill!
Stay tuned as we continue crafting our perfect grilled corn experience together—a culinary adventure awaits!
Step 5: The Prepping Ritual – A Love Letter to Corn
Now that we’ve lovingly husked our corn, it’s time for the next crucial step: prepping those beautiful ears for the grill. This is where your culinary journey truly begins. Take a moment to admire the vibrant yellow kernels glistening in the light; it’s like nature’s confetti! To prepare your corn, you’ll want to remove the silks completely. I can’t stress enough how important this is because any leftover silk will burn on the grill and can be a bit unpleasant to chew. So, grab a damp paper towel or cloth, and gently wipe down each ear to ensure all silk strands are gone.
Next comes the olive oil spray. I absolutely adore using this because it creates a lovely, light coating that allows the corn to caramelize beautifully while also preventing it from sticking to the grill grates. Just a few spritzes per ear will do! This step not only enhances flavor but also helps lock in moisture during grilling, leading to juicy kernels that burst with sweetness in every bite. Trust me on this: when you bite into that grilled corn on the cob, you want it to be a juicy explosion of flavor, not dry and sad!
Step 6: Preheating Your Grill – Setting the Stage for Flavor
Before we place our glorious corn onto the grill, we need to make sure our grilling environment is just right. Preheat your grill to medium-high heat, which is around 400°F (204°C). This step is absolutely paramount because it ensures that your corn gets those gorgeous char marks and cooks evenly throughout. Picture this: as soon as you lay those ears down on the hot grates, you’ll hear that satisfying sizzle—a sound that promises deliciousness ahead!
While preheating, take this opportunity to clean your grill grates if they need a little TLC. A quick scrub with a grill brush will help prevent any sticky situations later on; nobody wants their perfectly prepared corn getting stuck! As you wait for the grill to reach that perfect temperature, let yourself daydream about all the wonderful summer memories tied to grilling outdoors—the sounds of laughter, the smell of smoke mingling with sweet charred corn. It’s moments like these that make cooking so profoundly satisfying!
Step 7: The Grilling Dance – Timing is Everything
Now comes the moment we’ve all been waiting for—placing our lovingly prepared corn on the grill! Carefully lay each ear perpendicular to the grill grates; this way, you’ll maximize contact with those hot bars and achieve an even cook. You’ll want to let them rest there undisturbed for about 10-15 minutes total, turning them every few minutes with tongs for even charring and cooking. During this time, keep an eye on them; watch for that beautiful golden-brown color starting to develop alongside those enticing char marks.
This step might seem simple, but it’s where magic happens! The heat from the grill caramelizes natural sugars in the corn, transforming them into an utterly intoxicating flavor experience—think sweet meets smoky! Don’t rush this step; patience here pays off handsomely. You’re looking for a balance between charred edges and tender kernels—perfectly cooked corn will yield slightly when squeezed but still hold its shape firm enough for eating. So check occasionally by giving one ear a gentle squeeze with your tongs; you’ll know they’re getting close when they feel warm and tender.
Step 8: The Resting Phase – Essential Patience
As soon as your ears have developed those gorgeous char marks and are fragrant beyond belief, it’s time to remove them from the grill. But hang on just a second—you can’t dive into eating just yet! Instead, allow your grilled corn on the cob to rest for about 5 minutes before serving; this may feel like torture after smelling such deliciousness wafting through your backyard, but trust me—it’s non-negotiable!
Why rest? Well, during these few precious moments off-heat, residual steam continues cooking the kernels gently while allowing juices inside to redistribute evenly throughout each ear of corn. Think of it as allowing every kernel a moment of zen before being devoured! If you cut into them too soon or start munching immediately after grilling, you’re likely to lose some of those fantastic juices—what a tragedy that would be! So embrace this resting period as an essential part of creating truly extraordinary grilled corn.
Conclusion:
As we wrap up this culinary journey together, I can’t help but feel an overwhelming sense of joy reflecting on how simple ingredients can create something so profoundly satisfying. This recipe showcases not only the vibrant sweetness of fresh corn but also its versatility and ability to soak up those smoky flavors from the grill. Each bite delivers a symphony of textures—the slight crunch of perfectly charred kernels combined with that juicy burst when you sink your teeth into them—truly extraordinary! If there’s one takeaway from this recipe it’s that grilling corn doesn’t just elevate your meal; it creates memories filled with laughter and warmth shared over good food.
I truly believe that this Grilled Corn on The Cob is a must-try for anyone who loves simple yet flavorful cooking. It’s accessible enough for weeknight dinners yet special enough to shine during summer barbecues or family gatherings. Picture yourself pulling those glistening ears off the grill, their husks peeling back to reveal beautifully charred kernels glistening with olive oil; it’s an experience that’s visually stunning as much as it is delicious. Whether you’re serving them alongside burgers at a backyard cookout or enjoying them as part of a picnic spread, these ears will steal the show every time.
Now let’s talk pairings—imagine savoring one with a cool cilantro-lime dressing drizzled over top or perhaps nestled beside some tangy grilled vegetables bursting with color and flavor. For an afternoon pick-me-up during those lazy summer days, serve them alongside refreshing watermelon slices sprinkled with sea salt; the combination is utterly intoxicating! And if you’re feeling particularly indulgent, why not slather some avocado crema over your corn? It adds creaminess that balances perfectly with the natural sweetness.
Feeling adventurous? This recipe is wonderfully adaptable! You could try adding spices such as chili powder or smoked paprika before grilling for an exciting kick or even experiment by brushing on different herb-infused oils post-grill for unique flavor profiles. Consider trying out various toppings like crumbled feta or fresh herbs; each variation will enhance this dish’s charm in delightful new ways! I invite you wholeheartedly to try this recipe yourself, share your experiences with family and friends, and connect over what I hope becomes one of your favorite summer traditions!
Grilled Corn on The Cob
Enjoy deliciously sweet Grilled Corn on The Cob! Try my easy recipe today for a perfect summer side dish at any gathering.
- Prep Time: 10 minutes
- Cook Time: 15 minutes
- Total Time: 25 minutes
- Yield: Serves 4
- Category: Side Dish
- Method: Grilling
- Cuisine: American
Ingredients
- 4 medium ears of corn (husks and silks removed)
- Olive oil spray
- Salt to taste (optional)
Instructions
- Preheat your grill to medium-high heat (about 400°F).
- Husk the corn completely and rinse under cool water.
- Lightly coat each ear of corn with olive oil spray to prevent sticking and enhance flavor.
- Place the corn on the grill at an angle; grill for 10-15 minutes, turning every few minutes for even cooking.
- Once charred and fragrant, remove the corn from the grill and let it rest for 5 minutes.
- Sprinkle with salt or add your favorite toppings before serving.
Nutrition
- Serving Size: 1 ear of corn (120g)
- Calories: 90
- Sugar: 6g
- Sodium: 5mg
- Fat: 1g
- Saturated Fat: 0g
- Unsaturated Fat: 1g
- Trans Fat: 0g
- Carbohydrates: 19g
- Fiber: 2g
- Protein: 3g
- Cholesterol: 0mg