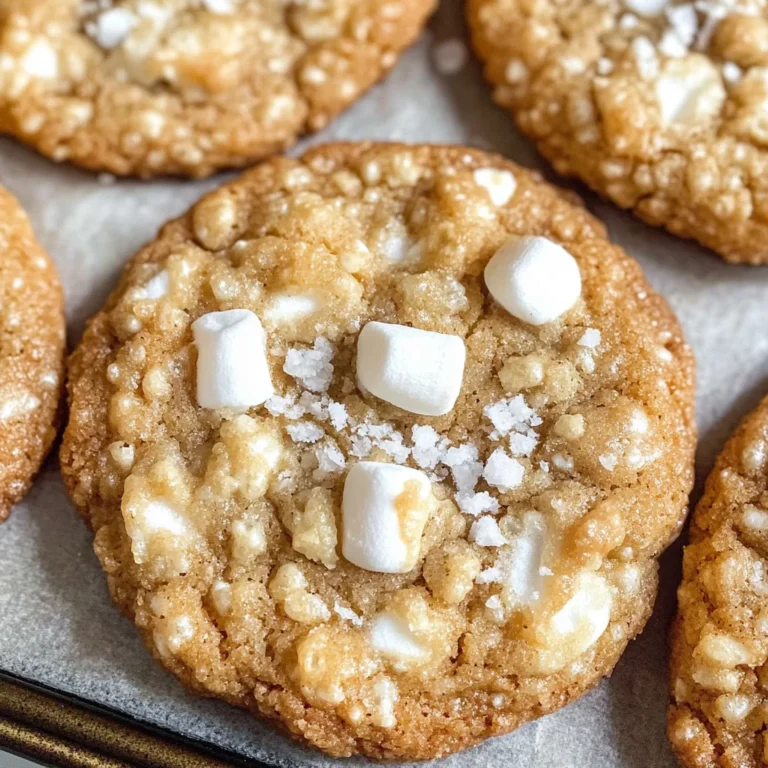
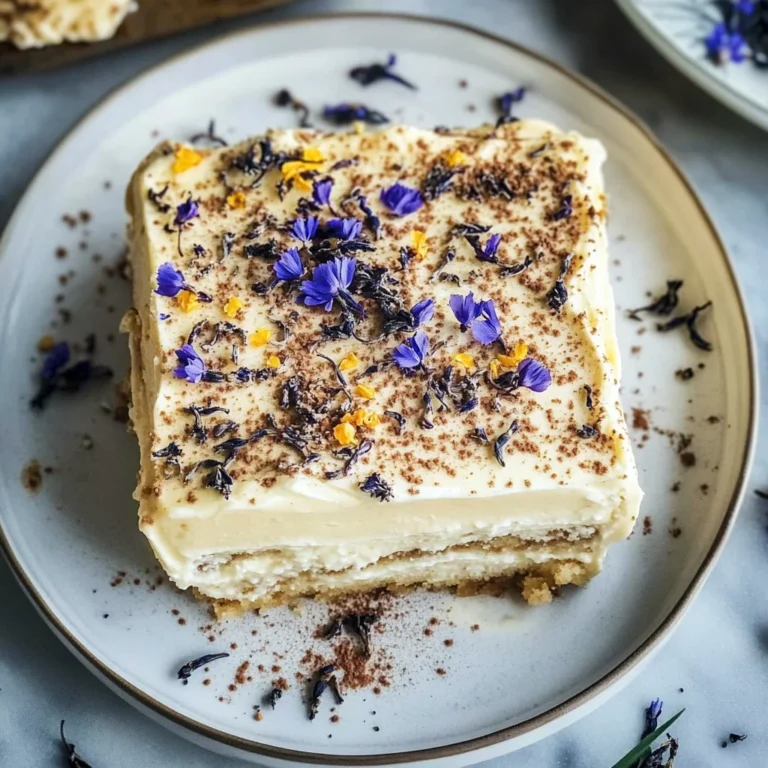
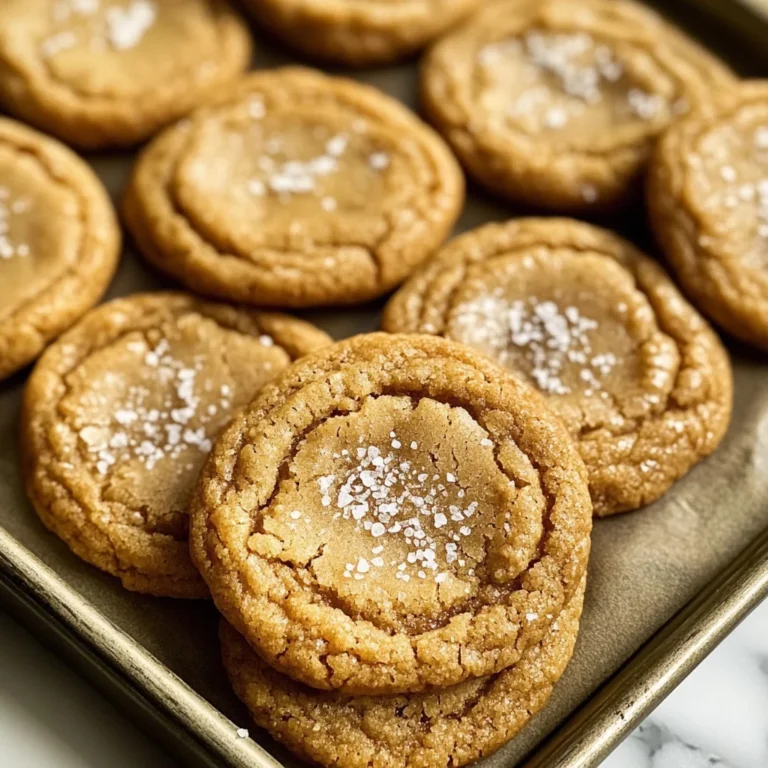
Biscoff Cookie Butter Cinnamon Rolls Recipe delights everyone!
There’s something profoundly comforting about the smell of cinnamon wafting through your kitchen, mingling with the sweet, caramel-like aroma of Biscoff cookie butter. It’s a scent that evokes memories of cozy mornings spent with loved ones, laughter echoing off the walls, and moments shared over indulgent treats. This isn’t just any dessert; it’s a warm embrace in pastry form. The Biscoff Cookie Butter Cinnamon Rolls Recipe delights everyone! and brings together the best of both worlds—decadent flavors and the joy of baking. Each bite offers a symphony of sweetness and spice, making it the perfect way to start your day or end a meal on a high note. Trust me when I say that once you experience these cinnamon rolls, you’ll be dreaming about them long after they’re gone.
The beauty of this recipe lies not only in its taste but also in its simplicity; it bridges the gap between tradition and innovation. While classic cinnamon rolls are beloved for their fluffy dough and warm filling, adding Biscoff cookie butter elevates them to an entirely new level of deliciousness. Have you ever felt utterly captivated by a single ingredient? That’s how I feel about Biscoff cookie butter—it’s like liquid gold! It adds depth and richness to every roll, transforming what could be an ordinary breakfast into something truly extraordinary. Whether you’re celebrating a special occasion or simply treating yourself on a lazy weekend morning, these rolls are sure to bring smiles all around.
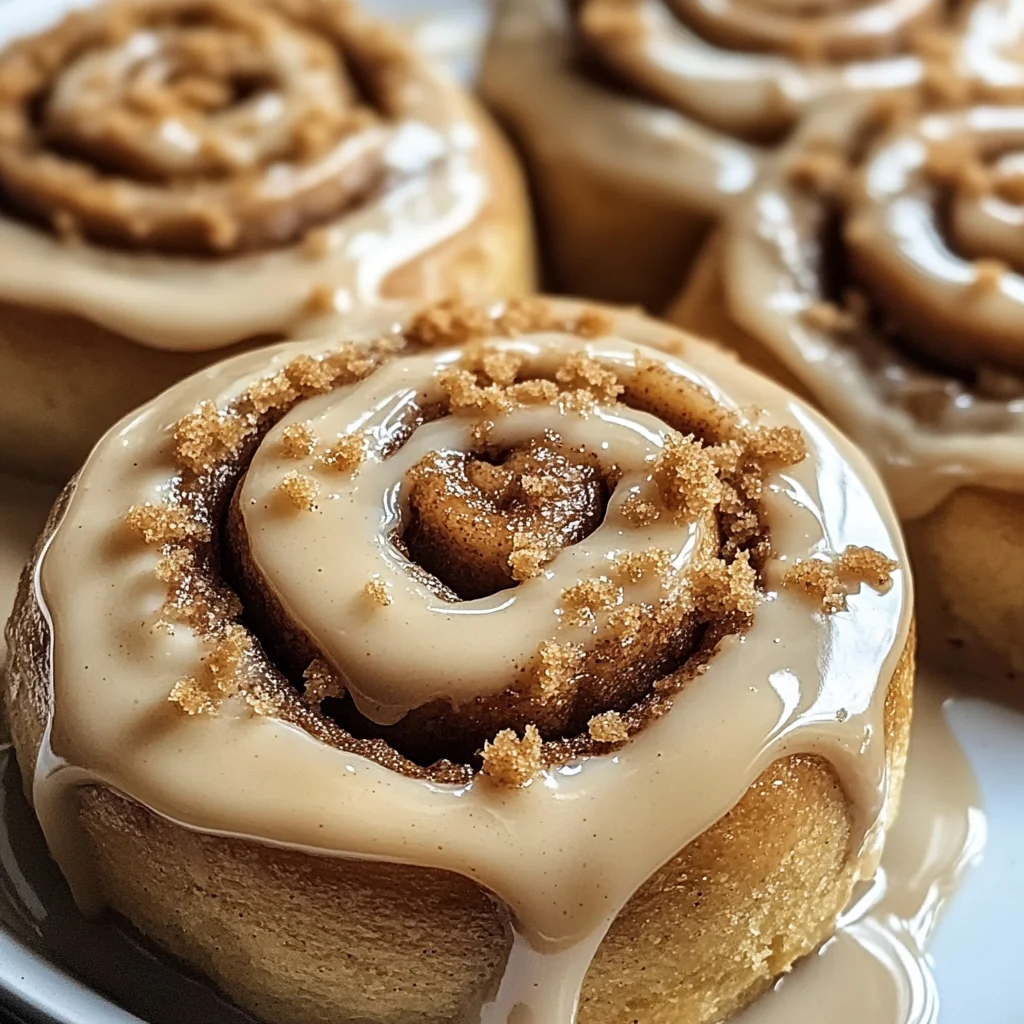
Ingredients:
As we embark on this delightful culinary journey together, let’s gather our ingredients. Each one plays a vital role in crafting these soft, fluffy Biscoff Cookie Butter Cinnamon Rolls that will delight everyone’s taste buds!
- 4 cups all-purpose flour (500 g): This is your foundation, providing structure to our rolls. All-purpose flour strikes that perfect balance between strength and tenderness, allowing for those fluffy layers we crave without being overly dense. When measuring flour, I recommend spooning it into your measuring cup and leveling it off—this ensures you don’t pack it down too much, which could lead to heavy rolls. If you want to experiment with whole wheat flour for added nutrition, consider starting with half whole wheat and half all-purpose until you find your perfect blend.
- 1/4 cup granulated sugar (50 g): This humble ingredient does more than add sweetness—it helps create that beautiful golden crust while also feeding the yeast during fermentation to give you those light-as-a-cloud rolls. When choosing sugar, opt for fine granulated sugar to ensure it dissolves easily into your dough mixture without graininess.
- 2 1/4 teaspoons active dry yeast (1 packet): Yeast is your magical leavening agent! It ferments the sugars in our dough, producing carbon dioxide that makes our rolls rise beautifully while lending a subtle flavor profile. Always check the expiration date before use; fresh yeast is crucial for achieving that lovely lift and airy texture. To activate the yeast properly, it’s essential to use warm milk—not too hot or it’ll kill the yeast—and not too cold or it won’t wake up!
- 1 cup whole milk (240 ml), warmed: Milk enriches our dough with fat and moisture while also contributing flavor. Warming it gently helps activate the yeast more efficiently; think of this as waking up your little yeast friends! You can warm it in the microwave or on the stove until it’s comfortably warm but not scalding—around 110°F (43°C) is ideal.
- 1/3 cup unsalted butter (75 g), melted: Butter is key here for creating that rich flavor we all adore! Using unsalted allows you complete control over the saltiness of your final product—a non-negotiable for any baker who wants to master their craft! Melted butter blends seamlessly into our dough, bringing richness while keeping things tender. If you’re feeling adventurous, try browning your butter first for an extra depth of flavor—it’s life-changing!
- 2 large eggs: Eggs contribute moisture and richness while enhancing structure due to their protein content. They also help bind everything together beautifully! I recommend using room temperature eggs because they’ll incorporate more easily into your warm dough mixture—this small step can make all the difference in achieving uniformity.
- 1/2 cup Biscoff cookie butter (150 g): Ahh, Biscoff cookie butter—the star of our show! It’s creamy, sweetly spiced, and utterly intoxicating when spread throughout our rolls. You can find this delightful spread at most grocery stores or online; just be sure to choose a brand that’s smooth and velvety rather than chunky so it spreads evenly throughout each roll.
- 1 tablespoon ground cinnamon: The aromatic warmth of cinnamon elevates these rolls from simple sweets into something truly memorable. Cinnamon works wonders by cutting through the sweetness with its earthy notes—just imagine biting into that gooey center filled with buttery goodness mixed with this fragrant spice!
- 1/4 teaspoon salt: A pinch of salt enhances every other flavor present in our recipe—it’s absolutely paramount! Salt balances sweetness while also strengthening gluten structure within our dough so we achieve that desirable chewiness.
For the glaze:
– 1/2 cup powdered sugar (60 g): This fine sugar creates that gorgeous glaze we’re after! Its delicate texture melts effortlessly into liquids like milk or Biscoff spread for an irresistibly smooth finish.
- 2 tablespoons Biscoff cookie butter (30 g): Adding more of our favorite ingredient is never a bad thing! This will infuse even more flavor into our glaze while keeping things cohesive with our roll filling.
- 1–2 tablespoons milk (15–30 ml): A splash of milk helps achieve pourable consistency without losing that luscious texture we desire in a glaze! Start with one tablespoon and increase as needed until you reach perfect drizzling thickness.
Equipment You’ll Need:
Having the right tools makes all the difference when embarking on this baking adventure together! While they may not be traditional ingredients, these essential partners will help ensure success as we craft deliciousness from scratch.
- Mixing bowls – A good set of mixing bowls is essential for combining ingredients efficiently without worrying about spills or messes. Opt for glass or stainless-steel bowls; they’re durable and won’t absorb odors or stains like plastic might over time!
- Measuring cups & spoons – Accurate measurements are crucial in baking; precise ratios lead to consistent results every time! Invest in quality measuring tools—preferably dry measuring cups for solids like flour and liquid ones for wet ingredients like milk—to ensure accuracy.
- Stand mixer (or hand mixer) – While you can certainly mix by hand if you’re feeling strong and adventurous, having an electric mixer speeds up kneading and ensures thorough mixing without tiring out your arms. If using a stand mixer fitted with a dough hook attachment works wonders here!
- Rolling pin – A classic tool used to flatten dough evenly before shaping; look for one that’s comfortable in hand but sturdy enough to withstand some pressure during rolling!
- Baking dish (9×13 inch) – A sturdy baking dish is ideal for housing all those beautiful rolls as they rise back up during baking! Glass or ceramic dishes retain heat well allowing even cooking throughout.
Now that we’ve gathered everything we need let’s dive into preparing these delightful Biscoff Cookie Butter Cinnamon Rolls Recipe delights everyone! Get ready to fill your kitchen with warmth and mouthwatering scents as we transform simple ingredients into something magical together!
Step 1: Awaken Your Yeast
Start by pouring your warmed milk into a mixing bowl along with granulated sugar and active dry yeast—this process awakens those tiny organisms responsible for giving our rolls their airy bite! Allow this mixture to sit undisturbed for about 5–10 minutes until it’s frothy on top—a sign that those yeasts are ready to work their magic. The initial combination helps ensure an even distribution throughout your dough later on; trust me—you don’t want any rogue pockets of unactivated yeast lurking around!
Step 2: Combine Wet Ingredients
Once you’ve achieved frothiness akin to whipped cream atop your favorite dessert, add melted unsalted butter along with room temperature eggs into this bubbly mixture. Stir gently until everything comes together smoothly—a few lumps are perfectly fine at this point since we’ll be adding flour next! Remember not to rush this step; letting each component meld harmoniously will yield better results down the line by ensuring proper emulsification occurs before moving forward.
Step 3: Kneading Towards Perfection
Gradually introduce all-purpose flour along with salt into your wet ingredients using either a wooden spoon or spatula until combined—they should form shaggy bits resembling raw cookie dough at first glance but fear not—that’s normal! Now comes my favorite part—the kneading process! Transfer everything onto a lightly floured surface or continue using your stand mixer fitted with a dough hook attachment if preferred; knead vigorously for about 8–10 minutes until smooth elastic consistency emerges—this is crucial as it develops gluten necessary for structural integrity within each roll while maintaining tenderness inside too!
Step 4: Allow Time To Rise
Once you’ve achieved that beautiful ball of silky smoothness known as bread dough glory place it inside an oiled bowl covering tightly with plastic wrap or kitchen towel allowing warmth from surroundings aid rising efforts making sure no drafts disturb its slumber; let rest until doubled size which typically takes roughly an hour depending on ambient temperature conditions around—but don’t rush this step either because patience pays off big time here resulting ultimately fluffier final products later down line!
Are you ready? Because soon enough we’ll see those delicate spirals emerge from oven golden brown topped generously glistening glaze waiting patiently at edge counter top beckoning everyone close enough catch whiff divine aromas drifting through air…
Stay tuned as we continue crafting these unforgettable delights together!
Step 5: Transforming the Dough into a Canvas of Flavor
Now comes the moment where we take the dough that has risen like fluffy clouds and bring it to life! After your dough has doubled in size—a process that typically takes about an hour but can vary based on your kitchen’s warmth—it’s time to punch it down. This step may sound a bit harsh, but trust me, it’s essential. When you punch down the dough, you’re releasing the gas bubbles that have formed during fermentation and ensuring that your rolls have a lovely, tender texture. It’s like giving your dough a gentle wake-up call to prepare for its next adventure!
Once you’ve punched it down, lightly flour your work surface and roll out the dough into a rectangle about ¼ inch thick. Don’t rush this step—take your time! As you roll, think about how the warm cinnamon and sweet Biscoff cookie butter will soon envelop this beautiful canvas, creating layers of flavor that will make every bite utterly delightful. Make sure to keep your rolling pin floured so the dough doesn’t stick. If you notice any resistance while rolling, just let it rest for a few minutes; this helps relax the gluten strands, making it much easier to handle.
Step 6: Spreading Your Sweet Biscoff Filling
Now that you’ve rolled out your dough into a perfect rectangle, it’s time to spread that luscious filling! In a small bowl, combine ½ cup of Biscoff cookie butter with 1 tablespoon of ground cinnamon until it’s smooth and well-blended. This mixture is where the magic happens! The warm scent of cinnamon will envelop your kitchen like a cozy hug as you prepare to spread it evenly across the surface of your dough. Use a spatula or even the back of a spoon to gently smear the filling over every inch of the rectangle—be generous but leave about a half-inch border along the edges.
This is crucial because if you spread too close to the edge, you’ll risk having all that delicious filling ooze out during baking—what a waste! As you spread, envision each swirl becoming part of an indulgent experience that awaits you and your loved ones. Feel free to add more Biscoff cookie butter if you’re feeling extra adventurous; after all, these rolls are meant to delight everyone!
Step 7: Rolling Up Your Delicious Creation
With your filling perfectly in place, it’s time for one of my favorite parts: rolling up this masterpiece! Starting from one long edge of your rectangle, gently roll up the dough tightly into a log shape. The goal here is to keep everything snug without squishing out all those delectable layers you’ve just created. As you roll, think about how each twist is adding not just visual appeal but also texture and flavor—a true symphony of tastes awaits!
Once you’ve rolled it all up, pinch the seam closed to secure everything inside. Now it’s time to slice this beauty into pieces—12 should do nicely for standard-sized rolls. Use a sharp knife or dental floss (yes, I said floss!) for clean cuts; simply slide it under your log and pull upward for neat slices without squishing them together. Place each slice cut-side up in a greased baking dish; they should be close enough to touch but not overcrowded. This arrangement will allow them to rise beautifully and create those gorgeous pull-apart rolls we all love.
Step 8: Letting Your Rolls Rise Again
It’s almost time for baking bliss! Now you’ll want to cover the baking dish with a clean kitchen towel or plastic wrap, allowing those rolls another opportunity to rise for about 30-45 minutes until they’ve puffed up adorably. This second rise is absolutely paramount—it allows those flavors developed in earlier stages to deepen and gives our rolls their soft texture.
As they rise, preheat your oven to 350°F (175°C). Keep an eye on them; they should be noticeably puffy but not overly expanded—think fluffy marshmallows rather than balloons! You can test their readiness by gently poking one with your finger; if it springs back slowly but leaves an indent, they’re ready for the oven! Baking these rolls is where transformation truly occurs—the heat activates everything within them, turning that raw dough into golden-brown perfection.
Conclusion:
What a delicious journey we’ve embarked on together through this Biscoff Cookie Butter Cinnamon Rolls Recipe delights everyone! From mixing and kneading to watching those glorious rolls rise and fill your home with warmth and sweetness, it’s hard not to feel an overwhelming sense of excitement as we come full circle. This recipe stands out because it combines the rich spice of cinnamon with the utterly intoxicating flavor of Biscoff cookie butter—creating a symphony of flavors that dances on your palate. Each bite offers not only comfort but also that profound satisfaction we all crave from our food.
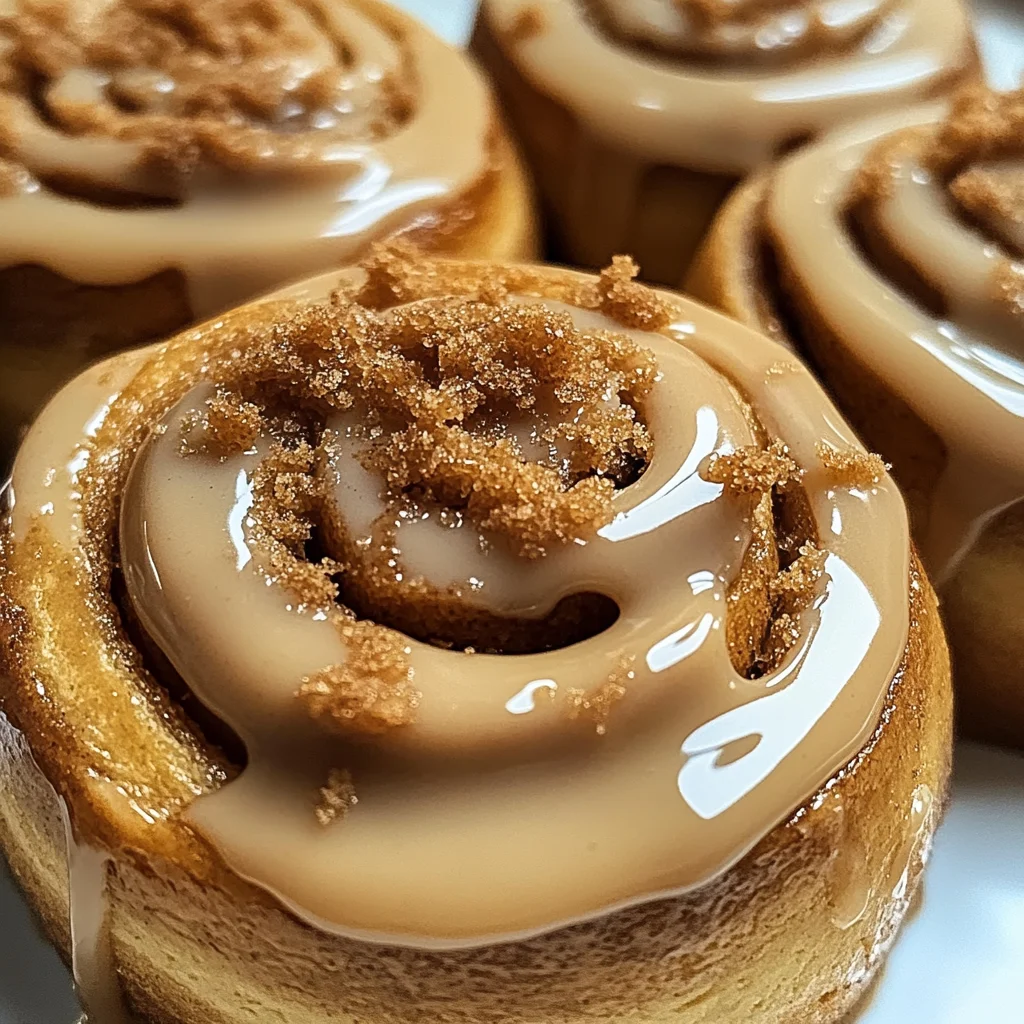
This cinnamon roll recipe is truly a must-try because it encapsulates not just delightful taste but also the sheer joy of baking something special from scratch. Whether you’re making it for a cozy weekend brunch or as an indulgent treat during chilly evenings with friends and family, these rolls are bound to become a cherished staple in your home. Picture yourself pulling them from the oven—the golden-brown tops glistening invitingly under soft lighting—as everyone gathers around with eager anticipation.
Imagine savoring one with a steaming cup of coffee or hot cocoa while chatting away with loved ones, creating memories that linger much longer than the sweet aroma wafting through your kitchen. For an afternoon pick-me-up, why not serve these alongside your favorite fruit preserves or whipped coconut cream? And if you’re feeling adventurous and want to enhance this experience even further, drizzle on some melted dark chocolate or sprinkle crushed nuts atop your glaze—each option adds its own unique twist!
Feeling adventurous? This recipe is wonderfully adaptable! You could swap out the Biscoff cookie butter for other flavors such as almond butter or hazelnut spread for different taste sensations altogether. Or how about adding chopped apples or pecans into the filling? Each variation presents an opportunity to create something uniquely yours while still capturing that comforting essence we love so much about these rolls. So go ahead—experiment, share your creations with friends, and don’t forget to connect back here and tell me how yours turned out! I can’t wait to hear about all your delightful adventures in baking!
Biscoff Cookie Butter Cinnamon Rolls

Indulge in this Biscoff Cookie Butter Cinnamon Rolls Recipe delights everyone! Soft rolls topped with creamy glaze—perfect for any occasion!
- Prep Time: 30 minutes
- Cook Time: 30 minutes
- Total Time: 1 hour
- Yield: Makes about 12 servings 1x
- Category: Dessert
- Method: Baking
- Cuisine: American
Ingredients
- 4 cups all-purpose flour
- 1/4 cup granulated sugar
- 2 1/4 teaspoons active dry yeast
- 1 cup warm whole milk
- 1/3 cup unsalted butter, melted
- 2 large eggs
- 1/2 cup Biscoff cookie butter (for filling)
- 1 tablespoon ground cinnamon
- Glaze: 1/2 cup powdered sugar
- 2 tablespoons Biscoff cookie butter
- 1–2 tablespoons milk
Instructions
- In a mixing bowl, combine warm milk, sugar, and yeast. Let it froth for 5–10 minutes.
- Mix in melted butter and room temperature eggs.
- Gradually add flour and salt until combined; knead for about 8–10 minutes until smooth.
- Place dough in an oiled bowl, cover, and let rise for about an hour until doubled.
- Roll out dough into a rectangle; spread the filling made from Biscoff cookie butter and cinnamon.
- Roll tightly into a log and slice into 12 pieces.
- Place slices in a greased baking dish to rise again for 30–45 minutes.
- Preheat the oven to 350°F (175°C) and bake for 25–30 minutes until golden brown.
- For the glaze, whisk together powdered sugar, Biscoff cookie butter, and enough milk to achieve drizzling consistency—pour over warm rolls.
Nutrition
- Serving Size: 1 roll (75g)
- Calories: 280
- Sugar: 15g
- Sodium: 150mg
- Fat: 10g
- Saturated Fat: 5g
- Unsaturated Fat: 4g
- Trans Fat: 0g
- Carbohydrates: 42g
- Fiber: 1g
- Protein: 5g
- Cholesterol: 40mg