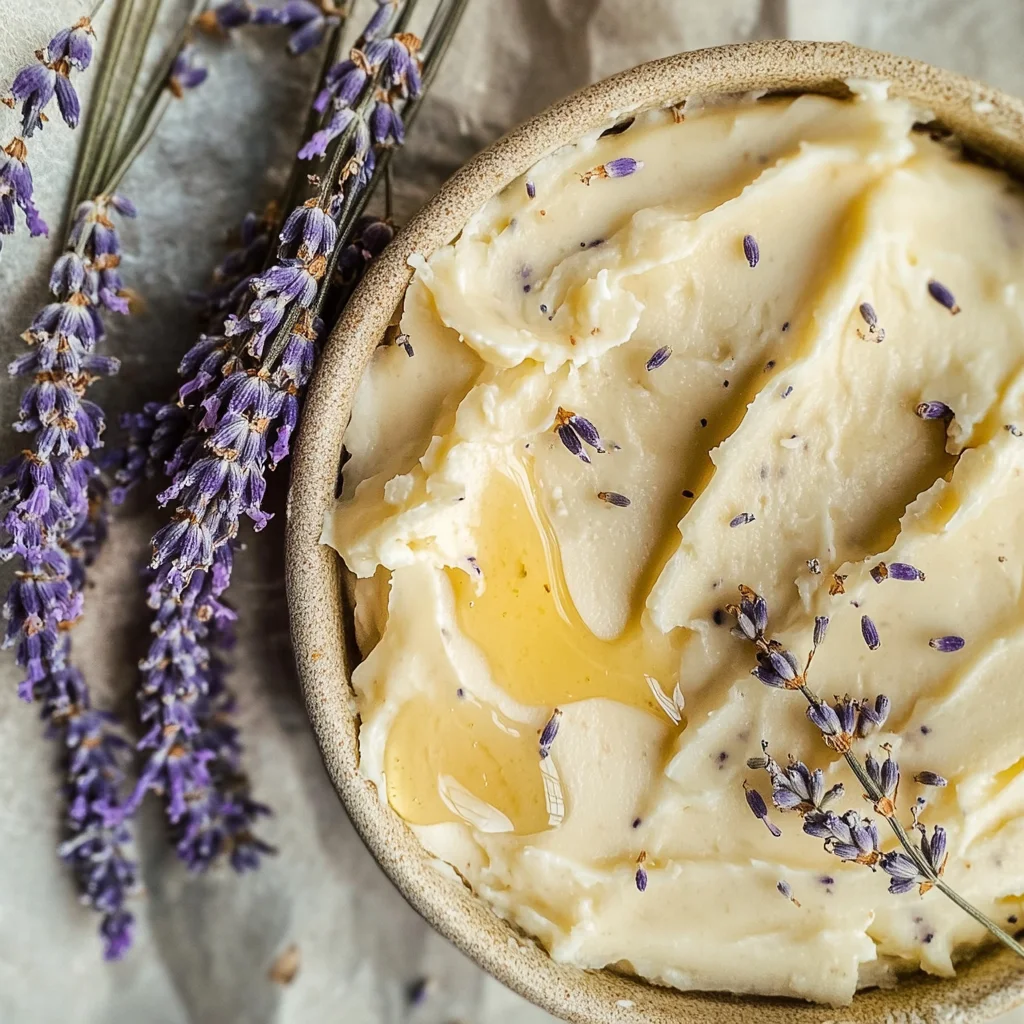
Honey Lavender Butter
There’s something truly magical about creating your own butter, don’t you think? Each time I whip up a batch of Honey Lavender Butter, I feel like I’m blending together the essence of summer evenings and the warmth of home. The process isn’t just about making a spread; it’s an experience that transforms simple ingredients into something ethereal. Imagine the rich, creamy texture of fresh butter, infused with hints of floral lavender and a touch of sweetness from honey. It’s more than just food; it’s a revelation that takes your breakfast toast or dinner rolls to an entirely new level—like a gentle hug in culinary form.
As I stand in my kitchen, whisking away, the fragrant aroma wafts through the air, taking me back to sun-drenched gardens filled with lavender blooms swaying in the breeze. This Honey Lavender Butter is not merely an indulgent treat; it’s a bridge between tradition and innovation that carries with it a profound sense of joy and comfort. And let me assure you, once you’ve tasted this delightful concoction, you’ll want to spread it on everything—scones, pancakes, or even just a warm piece of bread fresh from the oven. The beauty lies in its versatility; this butter can elevate any meal or moment.
Honey Lavender Butter: A Taste of Summer Bliss
Let’s dive into this delightful recipe together! The beauty of preparing Honey Lavender Butter lies not only in how uncomplicated it is but also in how deeply satisfying it feels to create something so luxurious at home. You’re going to adore how easily these simple ingredients transform into a velvety spread that sings with flavor. So roll up your sleeves, and let’s embark on this sweet journey together!
Ingredients:
Before we begin whipping up this dreamy butter, let’s take a moment to appreciate each ingredient that plays a vital role in our creation.
- 2 cups heavy cream. This is the star ingredient! Heavy cream has a high fat content (generally around 36% or more), which is absolutely paramount for achieving that rich texture we crave in butter. When whipped, the fat molecules trap air, creating an airy consistency before ultimately separating into luscious butter and buttermilk. Be sure to choose high-quality cream—ideally organic if possible—as it will yield the best flavor and texture. If you’re in a pinch, you could substitute half-and-half for light cream, but know that it won’t be quite as rich or decadent.
- 1/4 teaspoon salt. While this may seem like a small amount compared to other ingredients, salt is absolutely crucial for enhancing flavors and balancing sweetness in our Honey Lavender Butter. It works like magic to bring out the natural creaminess of the butter while also complementing the floral notes of lavender and sweetness from honey. Be careful not to skip this step—trust me when I say it makes all the difference!
- 1/2 teaspoon honey. Ahh, honey! This liquid gold adds not just sweetness but also depth to our butter—infusing it with warmth and character that elevates every bite you take. Opt for raw honey if you can; its complex flavor profile will shine through beautifully compared to regular processed honey. And remember, adjusting the amount based on your personal preference is totally acceptable! You’re creating something uniquely yours.
- 1/4 teaspoon dried lavender flowers. These delicate little buds are what make this recipe sing! Dried lavender imparts not only their lovely fragrance but also an enchanting floral note that dances alongside the richness of our butter and sweetness from honey. When purchasing dried lavender, look for culinary-grade varieties ensuring they are free from pesticides or additives for safety reasons.
Equipment You’ll Need:
Now that we’ve gathered our ingredients, let’s talk tools! Having the right equipment makes all the difference when creating your buttery masterpiece—it ensures smooth sailing throughout your culinary adventure.
- Stand mixer or hand mixer – This will be your trusty companion for whipping heavy cream into submission! A stand mixer allows for hands-free mixing while achieving optimal aeration and separation of butter from buttermilk without much effort on your part. If you don’t have one handy, fear not—a handheld mixer works just as well; just be prepared for some arm workout!
- Fine mesh strainer or cheesecloth – After whipping up our glorious cream into butter, we’ll need something to separate out that lovely liquid buttermilk from our solidified butter itself. A fine mesh strainer is ideal for this purpose as it allows only liquid through while keeping all those precious solids behind.
- Mixing bowl – You’ll need a large mixing bowl where all the magic happens! Choose one substantial enough to hold our heavy cream as we whip it into fluffy perfection without any splashing overboard.
- Spatula – A rubber spatula will become essential when folding in our flavor elements—honey and lavender—into our freshly made butter! Its flexibility allows you to scrape down sides easily ensuring every last bit gets blended perfectly without leaving any behind.
Preparing the Honey Lavender Butter
Step 1: Whipping Up Creamy Perfection
First things first: pour those two cups of heavy cream into your stand mixer bowl or another mixing bowl if using a hand mixer! Begin by beating on medium speed until soft peaks form—a stage where peaks gently fold over instead of standing straight up—this usually takes about 5 minutes if using a stand mixer or slightly longer with a hand mixer due to less power. Don’t rush this step; patience here pays off as we want enough air incorporated before moving onto separating out our beautiful golden butter from buttermilk!
Step 2: Embracing Separation
Once you’ve achieved soft peaks—and believe me when I say they should look fluffy yet still maintain some structure—it’s time to increase speed gradually until firm peaks appear within 5 more minutes (you’ll know when they do!). At this point, you’ll notice separation happening right before your eyes—the magical transformation from whipped cream into luscious homemade butter begins here as those fat globules clump together while releasing liquid buttermilk around them!
Step 3: Draining Away Buttermilk
Next comes one of my favorite moments—the exciting reveal! Once fully separated (look for clumps resting atop pools of yellowish liquid), carefully pour everything through your fine mesh strainer placed over another bowl designed specifically for catching any escaping buttermilk droplets below while retaining solidified buttery goodness above (I recommend saving that deliciously tangy buttermilk for pancakes!). Gently press down on solids using spatula until most liquid drains away—this ensures maximum buttery richness awaits us ahead!
Step 4: Infusing Flavorful Elements
Now comes one last journey before diving headfirst into tasting bliss: adding flavors! Take ½ teaspoon honey along with ¼ teaspoon salt—both essential components needed here—and fold them lovingly into drained-off buttery mixture using spatula until evenly distributed throughout creamy landscape forming within bowl (I promise you won’t regret this step!). Next up? Time for those fragrant dried lavender flowers which require gentle crushing between fingers releasing their oils while inviting their aroma forth—simply sprinkle them over mixture before folding again gently ensuring even distribution without bruising delicate petals too much!
Final Touches: Serving Up Delightful Honey Lavender Butter
Step 9: Serving Your Masterpiece
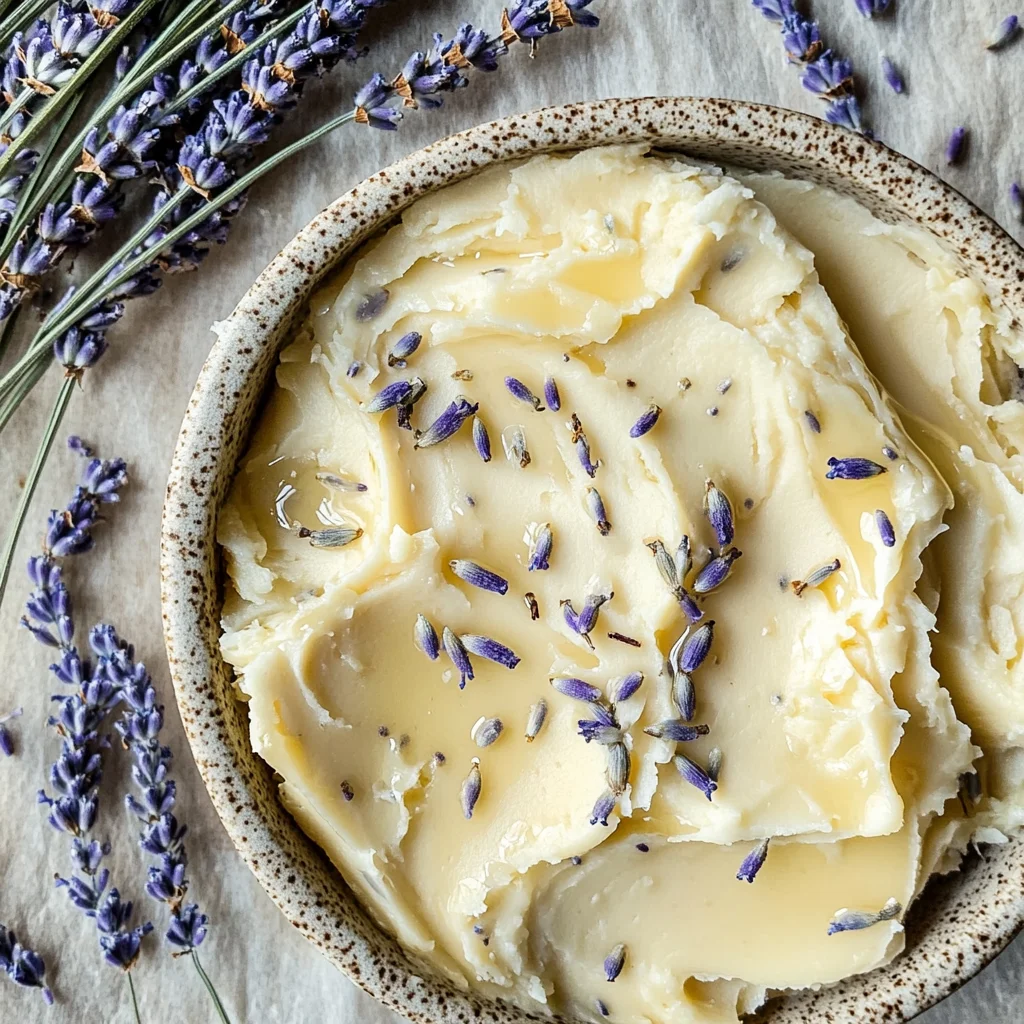
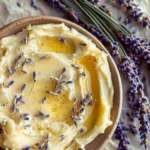
Once your Honey Lavender Butter has chilled and firmed up just enough for easy spreading, it’s time for that triumphant reveal! Remove it from the fridge and scoop out generous dollops onto a charming serving dish or simply keep it in its mixing bowl if you’re feeling casual—you do you! As you watch that lovely golden butter glisten under whatever light dances around your kitchen, you’ll feel an undeniable sense of pride knowing you’ve crafted something special right at home.
This isn’t just any ordinary spread; it’s an experience waiting to happen! Imagine spreading this luxurious blend onto fresh-baked bread still warm from the oven—the contrast between warmth and coolness creates pure magic on your palate. Or perhaps you’re thinking about slathering some on fluffy pancakes or waffles? Oh yes! Each bite brings an explosion of flavors—the sweetness from honey harmonizing beautifully with hints of floral lavender—and trust me when I say it’s utterly intoxicating!
As you serve this delightful creation at breakfast or brunch gatherings or simply treat yourself after a long day, know that every mouthful carries not only taste but also love—a reminder that food connects us deeply and personally. So grab some crusty bread or flaky pastries and dig in; I promise you won’t regret sharing (or keeping) this indulgent treat all for yourself! Enjoy every moment because there’s nothing quite like homemade Honey Lavender Butter—it truly transforms simple meals into something spectacular!
Storage and Enjoyment Tips for Your Honey Lavender Butter
Now that you’ve created this delightful Honey Lavender Butter, it’s time to talk about how to store it and savor every last bit! This butter is not just an immediate treat; it has the potential to elevate your dining experience over several days. I can hardly contain my excitement as I think about all the ways you can enjoy this sweet, floral concoction. Whether you’re spreading it on warm bread or using it as a topping for pancakes, knowing how to preserve it will ensure that each bite remains as sumptuous as the first.
Storing Leftover Honey Lavender Butter
To keep your Honey Lavender Butter fresh and delicious, transfer any leftovers into an airtight container. Glass jars work beautifully here, not only because they seal tightly but also because they allow you to admire that gorgeous golden hue. If stored properly in the refrigerator, this butter can stay fresh for up to two weeks, although I doubt it’ll last that long in your household! Here’s a little tip: place a slice of bread in the container with your butter; it absorbs excess moisture and keeps your butter from turning hard and grainy. The taste after storage remains incredibly rich, with the honey’s sweetness and lavender’s floral notes melding into a truly extraordinary flavor. When you’re ready to serve again, simply scoop out what you need—no reheating required—as its creamy texture will be perfect for spreading straight from the fridge.
Freezing Honey Lavender Butter for Later
If you find yourself with more of this luscious butter than you can use in a couple of weeks, freezing is a fantastic option! To do so properly, scoop your butter into ice cube trays or silicone molds—this way, you’ll have perfectly portioned amounts ready whenever inspiration strikes. Cover them tightly with plastic wrap before placing them in the freezer. This method preserves their delightful taste for about six months. When you’re ready to use some frozen Honey Lavender Butter, just pop out a cube and let it thaw at room temperature or give it a quick microwave zap for a few seconds until it’s soft but not melted. Trust me—having these little cubes of joy on hand adds an element of convenience that’s utterly intoxicating!
Honey Lavender Butter
Elevate your meals with homemade Honey Lavender Butter—a delightful blend of sweet honey and fragrant lavender. Try making yours today!
- Prep Time: 15 minutes
- Cook Time: 0 minutes
- Total Time: 15 minutes
- Yield: Approximately 16 servings 1x
- Category: Dessert
- Method: No cooking involved
- Cuisine: Fusion
Ingredients
- 2 cups heavy cream
- 1/4 teaspoon salt
- 1/2 teaspoon honey
- 1/4 teaspoon dried lavender flowers
Instructions
- Pour the heavy cream into a mixing bowl or stand mixer. Beat on medium speed until soft peaks form (about 5 minutes).
- Increase the speed gradually to high and beat until firm peaks form, causing the mixture to separate into butter and buttermilk (about 5 additional minutes).
- Carefully pour the contents through a fine mesh strainer over another bowl to separate the butter from the liquid buttermilk.
- Gently press down on the butter with a spatula to remove excess moisture.
- Fold in the honey, salt, and crushed lavender flowers until evenly distributed.
- Chill in the refrigerator for about 10 minutes before serving.
Nutrition
- Serving Size: 1 tablespoon - 14g
- Calories: 100
- Sugar: 1g
- Sodium: 20mg
- Fat: 11g
- Saturated Fat: 7g
- Unsaturated Fat: 4g
- Trans Fat: 0g
- Carbohydrates: 1g
- Fiber: 0g
- Protein: 0g
- Cholesterol: 40mg