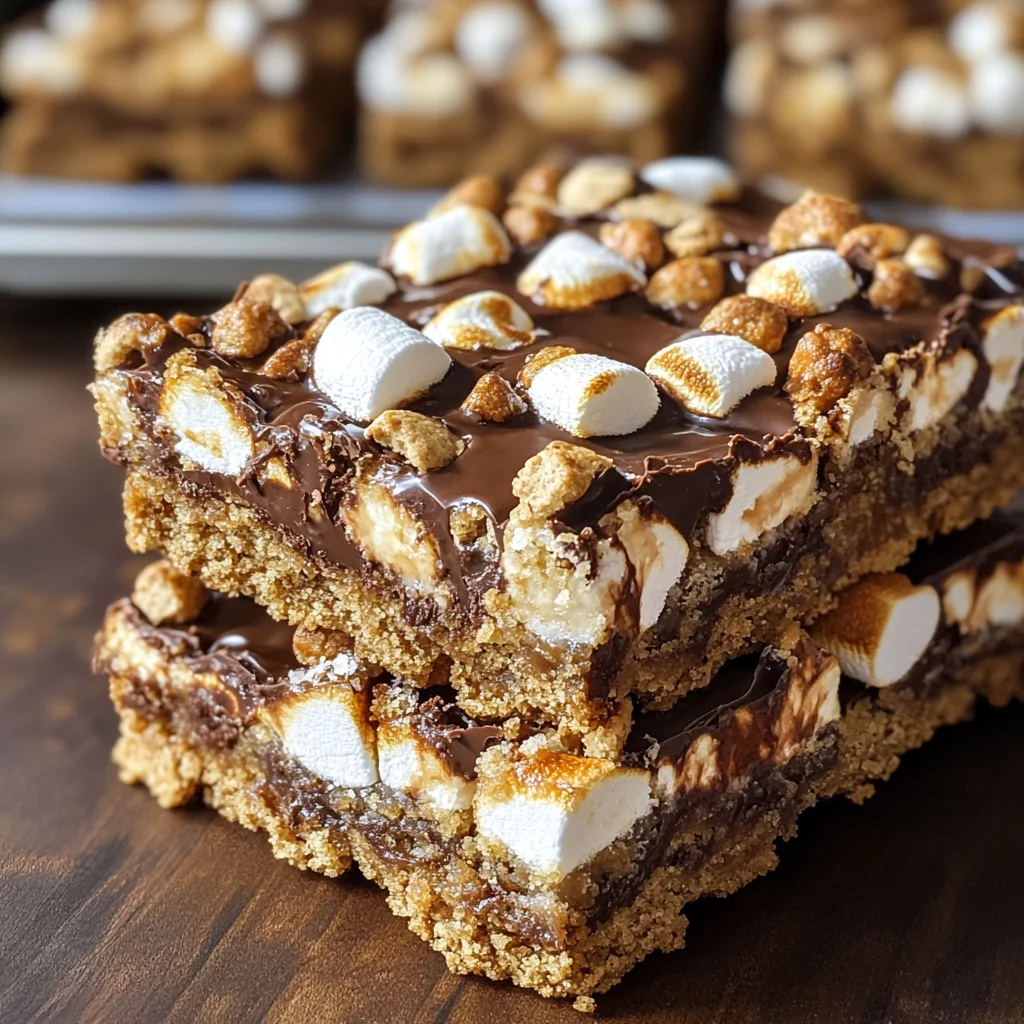
S’mores Seven Layer Bars
There’s something truly magical about the combination of flavors and textures that make up S’mores Seven Layer Bars. When I think about these delectable treats, I can feel the warmth of a campfire crackling in the background and hear the laughter of friends gathered around, sharing stories under a starry sky. These bars are more than just a dessert; they are a celebration of togetherness and nostalgia, a bridge between childhood memories and adult indulgence. The rich layers of toasted vegan marshmallows, melted chocolate, and crunchy graham crackers create an experience that is both familiar and exhilarating. With every bite, you’ll find yourself transported back to those blissful summer nights spent roasting marshmallows and crafting the perfect s’more, but without needing to brave the outdoors or start a fire!
What makes these S’mores Seven Layer Bars so special is not just their incredible taste but also their versatility for any occasion. They are perfect for picnics, potlucks, or simply enjoying at home while binge-watching your favorite show. The gooey texture of the marshmallows paired with the sweetness of chocolate creates an utterly intoxicating symphony of flavors that will leave you craving more. And trust me when I say that once you’ve made them once, they will become a cherished go-to recipe—one you’ll want to share with everyone you know!
S’mores Seven Layer Bars: A Cozy Campfire Treat Without the Fire
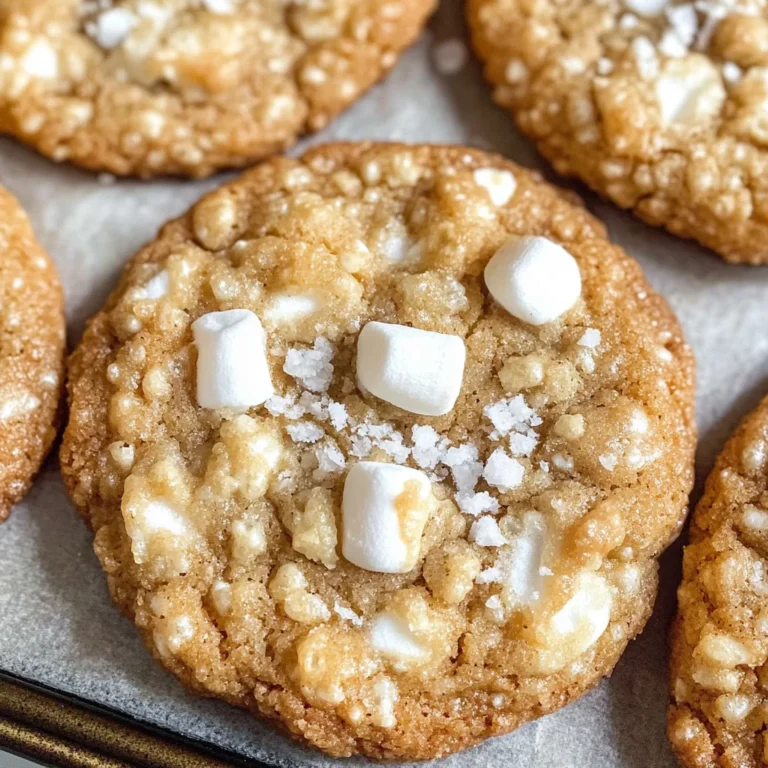
These S’mores Seven Layer Bars have all of the flavor of a gooey s’more! Toasted vegan marshmallows, melted chocolate, crunchy graham crackers—and guess what? No fire required! Let’s dive into this delightful recipe together; I promise you’ll fall in love as much as I did.
Ingredients:
As we embark on this culinary journey to create our S’mores Seven Layer Bars, let’s take a moment to appreciate each ingredient and how it plays its part in this delicious creation.
- 2 1/2 cups graham cracker crumbs. This is where our bars begin their journey! The graham cracker crumbs provide that classic s’mores base flavor we all adore. They bring in a sweet yet slightly nutty taste that pairs beautifully with the other ingredients. When purchasing graham crackers, look for brands that offer whole-grain options if you’re aiming for a healthier touch. For those who want gluten-free alternatives, crushed gluten-free cookies work wonderfully too!
- 3/4 cup butter, melted. Butter is like liquid gold in baking—it adds richness and depth to our bars while helping bind everything together beautifully. Make sure your butter is fully melted before mixing; this ensures it combines seamlessly with the graham cracker crumbs for an even consistency. If you’re looking for a dairy-free option, coconut oil is a fantastic substitute that will bring its own unique flavor profile.
- 1 (14 oz) can sweetened condensed milk. This ingredient is absolutely paramount for achieving that luscious gooeyness we associate with traditional s’mores! Sweetened condensed milk acts as both sweetener and binder here; it keeps our bars moist and helps all those lovely layers stick together harmoniously. Look for plant-based versions if you want to keep it dairy-free; they work just as well!
- 2 cups mini vegan marshmallows. These little puffs are what dreams are made of! They melt beautifully and add that nostalgic marshmallow flavor we crave in s’mores. Their mini size allows them to distribute evenly throughout our bars without overwhelming any single bite with too much fluffiness—it’s all about balance here!
- 1 cup semi-sweet chocolate chips. Chocolate is non-negotiable when it comes to making s’mores! Semi-sweet chocolate chips melt into pockets of heavenly goodness within our bars, providing rich cocoa flavor that balances perfectly with the sweetness from the marshmallows and condensed milk. If you’re feeling adventurous, try mixing dark chocolate chips for an intense flavor or even white chocolate chips for something playful.
- 1 cup broken graham cracker pieces. These pieces add delightful crunch amidst all that gooeyness—think of them as little surprises in every bite! It’s important not to overlook this ingredient because it contributes texture and enhances that classic s’more experience we’re after.
- 2 (1.55 oz) chocolate bars, broken into pieces. These larger chunks melt beautifully on top of our bars after baking, creating decadent pools of chocolate waiting to be savored! Choose your favorite brand here—whether it’s rich dark chocolate or creamy milk chocolate—the key is finding something you love since it will be front-and-center once baked.
Equipment You’ll Need:
Having the right tools at your fingertips makes all the difference when preparing these scrumptious S’mores Seven Layer Bars! While these items may not be ingredients themselves, they play essential roles in ensuring success throughout your baking adventure.
- 9×13 inch baking dish – This size is crucial for achieving even baking across all layers of our delicious bars; too small and they may overflow while baking! Glass or metal works well here—just ensure it’s adequately greased or lined for easy removal after baking.
- Mixing bowls – A good set of mixing bowls allows you to combine ingredients smoothly without messes galore on your counter. I recommend having at least two sizes: one large bowl for mixing dry ingredients and another medium bowl for wet ones.
- Spatula – This handy tool will help you spread ingredients evenly throughout your pan; it’s also great for scraping down sides while mixing so nothing goes wasted!
- Plastic wrap or foil – Perfect for covering leftovers (if there are any!) once your bars have cooled down completely… although let’s be honest: leftovers may be hard to come by!
Now that we’ve gathered our ingredients and equipment let’s get started on creating these mouthwatering S’mores Seven Layer Bars!
Step 1: Preheat and Prepare Your Pan
First things first—we need to preheat our oven to 350°F (175°C) so it’s nice and ready by the time we’re done layering our ingredients together! While that lovely warmth builds up in your kitchen, grab your 9×13 inch baking dish and either spray it with non-stick cooking spray or line it with parchment paper—this step can’t be overstated because clean-up will be so much easier later on! Trust me on this one; no one wants sticky remnants clinging stubbornly to their pan after such an exquisite creation!
Step 2: Create Your Graham Cracker Base
In a medium-sized mixing bowl, combine those fabulous graham cracker crumbs with the melted butter until they resemble wet sand—this mixture should hold together when pressed firmly between your fingers but crumble easily otherwise. Take your time here; don’t rush this step because getting just the right consistency ensures an ideal foundation for our layered delight! Once mixed well enough, press this crumbly mixture firmly into the bottom of your prepared pan using either clean hands or a spatula—make sure it’s evenly distributed across every corner so each bite holds its shape beautifully once baked!
Step 3: Add That Sweetened Condensed Milk
Next up? It’s time for some liquid gold—the sweetened condensed milk! Pour this luscious goodness evenly over your pressed graham cracker base; use a spatula to help ensure every inch gets covered appropriately without leaving dry spots behind—that’s crucial if we want every layer infused with harmony! The milk seeps into those crumbs below as they bake together—the science behind this magic creates moistness throughout each bar while helping them hold their shape once cooled.
Step 4: Sprinkle on Delicious Layers
Now comes one of my absolute favorite parts: layering up those delightful toppings! First off sprinkle half (1 cup) of those adorable mini vegan marshmallows over top—these will start melting into warm puddles during baking while adding that signature s’more flavor we crave most! Next sprinkle all (1 cup) semi-sweet chocolate chips generously across everything—that velvety richness combined with melted marshmallow creates pure bliss as they bake together harmoniously.
Keep layering by adding broken graham cracker pieces over everything else—it’s like giving each bite an extra crunch factor which balances out against soft textures perfectly—a marriage made in heaven if ever there was one!
Stay tuned as we continue building upon these scrumptious layers next…
Step 5: Layering the Sweetness
After you’ve created that delightful graham cracker crust, it’s time to elevate these bars to their full, decadent potential. Pour the luscious sweetened condensed milk over the pressed graham cracker base—this step is absolutely crucial! Think of the sweetened condensed milk as a silky, golden river flowing over a sandy beach; it will bind everything together and infuse every layer with an irresistible sweetness. Use a spatula to spread it evenly, ensuring that every last crumb of that crust is enveloped in this creamy goodness. This not only adds moisture but also helps create that gooey texture we all adore in a s’more.
Next, sprinkle half of your mini vegan marshmallows over this liquid gold. As they bake, they’ll puff up and create that classic s’mores flavor we’re all craving. Incorporate all of the semi-sweet chocolate chips into this layer as well; the combination of melted chocolate paired with the soft marshmallows is simply divine! Finally, take those broken graham cracker pieces and scatter them generously on top. This will add an extra crunch that contrasts beautifully with the gooey layers beneath. Trust me when I say that each bite will be a symphony of textures and flavors that you won’t soon forget!
Step 6: The Bake Begins
Now it’s time to send your beautiful creation into the oven for its first round of baking—a vital step in achieving perfect S’mores Seven Layer Bars! Preheat your oven to 350°F (about 175°C) if you haven’t done so yet; patience is key here as you want it fully preheated for even baking. Slide your baking dish onto the middle rack and let it bake for about 15 minutes—this initial phase allows everything to meld together beautifully while developing those delectable flavors. Keep an eye on it, as you’ll notice the chocolate chips starting to melt and the marshmallows puffing up.
After 15 minutes, it’s time for some magic: remove the dish from the oven and sprinkle those remaining vegan marshmallows on top. This second layer of marshmallows is where things get exciting! The previous layer has already begun to soften, but these new ones will create gorgeous peaks as they toast under the heat. Bake again for another 10-15 minutes—watch closely as they turn golden brown and begin to caramelize at the edges; this creates those lovely little crispy bits we often associate with campfire s’mores. It’s important not to rush this step; letting them get perfectly toasted elevates these bars from good to utterly extraordinary.
Step 7: The Joyful Wait
Once your S’mores Seven Layer Bars have reached that glorious golden-brown state, carefully remove them from the oven and place them on a cooling rack—this part is essential! Allowing them to cool for at least 15 minutes before cutting might feel like torture because trust me, I understand how difficult it can be to resist diving right in! But patience pays off here; letting them rest allows everything to set up properly so you can achieve clean cuts when slicing into squares or bars.
You might notice some steam rising from the pan—a sign that all those lovely layers are still warm and gooey inside! The chocolate will remain melty for a while longer, but chilling completely transforms your bars into a cohesive treat rather than a messy indulgence. If you can hold off (which I know is tough!), let them cool completely before slicing into squares. The gooey marshmallow will firm up just enough during this waiting period, allowing each piece to hold its shape without losing that wonderful chewy texture.
Step 8: Final Touches and Serving
Now comes one of my favorite parts—the finishing touches that will make these bars truly unforgettable! After allowing your S’mores Seven Layer Bars to cool completely (at least an hour if you can manage), take those two chocolate bars you broke into pieces earlier and gently press them into the surface while it’s still slightly warm. This technique allows for extra pockets of melted chocolate throughout each bar, which takes flavor levels through the roof!
Once you’ve added your chocolate pieces, let them set until they are just firm enough so that they don’t melt away when cut. When you’re ready to slice, grab a sharp knife and dip it in hot water before making each cut—this makes slicing through those delicious layers much easier without pulling everything apart! You want clean edges so each bar looks as good as it tastes—presentation matters when sharing these beauties with friends or family.
As you serve these delightful treats, prepare yourself for oohs and ahhs—they’re not just visually stunning with their layers but also offer an utterly intoxicating aroma that beckons everyone closer. Each bite will transport you back to cozy campfire nights filled with laughter under starlit skies, making these S’mores Seven Layer Bars not just a dessert but a celebration of memories shared around warmth and love.
Wrapping Up Your S’mores Seven Layer Adventure
And there you have it! Your S’mores Seven Layer Bars are not just any dessert—they’re an experience packed with nostalgia and joy. With every element working in harmony—from crispy graham crackers to fluffy vegan marshmallows—you’re left with something profoundly satisfying that’s sure to please anyone lucky enough to taste them. Whether it’s a family gathering or a simple weeknight treat, I promise you these bars will become an instant favorite! So gather your loved ones around after dinner or at your next movie night; serve up these treats warm or at room temperature—it’s all deliciously delightful! Enjoy every moment of indulging in this extraordinary creation; after all, cooking is about savoring life one bite at a time!
Storage and Enjoyment Tips for Your S’mores Seven Layer Bars
Now that you’ve created these delightful S’mores Seven Layer Bars, it’s time to relish in the joy of sharing them with friends and family—or simply enjoying them yourself! The gooey marshmallows, rich chocolate, and crunchy graham cracker layers create a symphony of flavors that is utterly intoxicating. But what if you have some leftovers? Fear not! Storing these bars properly ensures that their heavenly taste lingers on.
Storing Leftover S’mores Seven Layer Bars
To keep your S’mores Seven Layer Bars fresh and delicious, place them in an airtight container. This will prevent any unwanted moisture from seeping in or stale air from ruining their delightful texture. You can store them at room temperature for up to five days—though I promise they might not last that long! If you want to take extra precautions and keep them even fresher, you can slip a slice of bread into the container; this little trick helps maintain moisture and keeps your bars from becoming too firm. After a day or two, the flavors meld together beautifully, creating a more profound chocolatey goodness that’s just as scrumptious as when they first came out of the oven. When you’re ready to indulge again, feel free to enjoy them at room temperature or pop them into the microwave for about ten seconds for that warm, gooey experience we all crave!
Freezing S’mores Seven Layer Bars for Later
If you find yourself with more bars than you can handle (or if you’re simply planning ahead), freezing them is an excellent option! To freeze your S’mores Seven Layer Bars, wrap each piece tightly in plastic wrap or aluminum foil before placing them in a freezer-safe bag or container; this will help prevent freezer burn while keeping all those luscious flavors intact. They’ll stay fresh for up to three months in the freezer, making them perfect for those unexpected cravings or last-minute gatherings. When you’re ready to indulge once again, simply thaw them overnight in the refrigerator or let them sit at room temperature for about 30 minutes. Trust me when I say there’s something truly special about pulling out a frozen stash of these bars when you’re feeling nostalgic or need a quick pick-me-up—it’s like having a little taste of summer camp right in your kitchen!
S’mores Seven Layer Bars
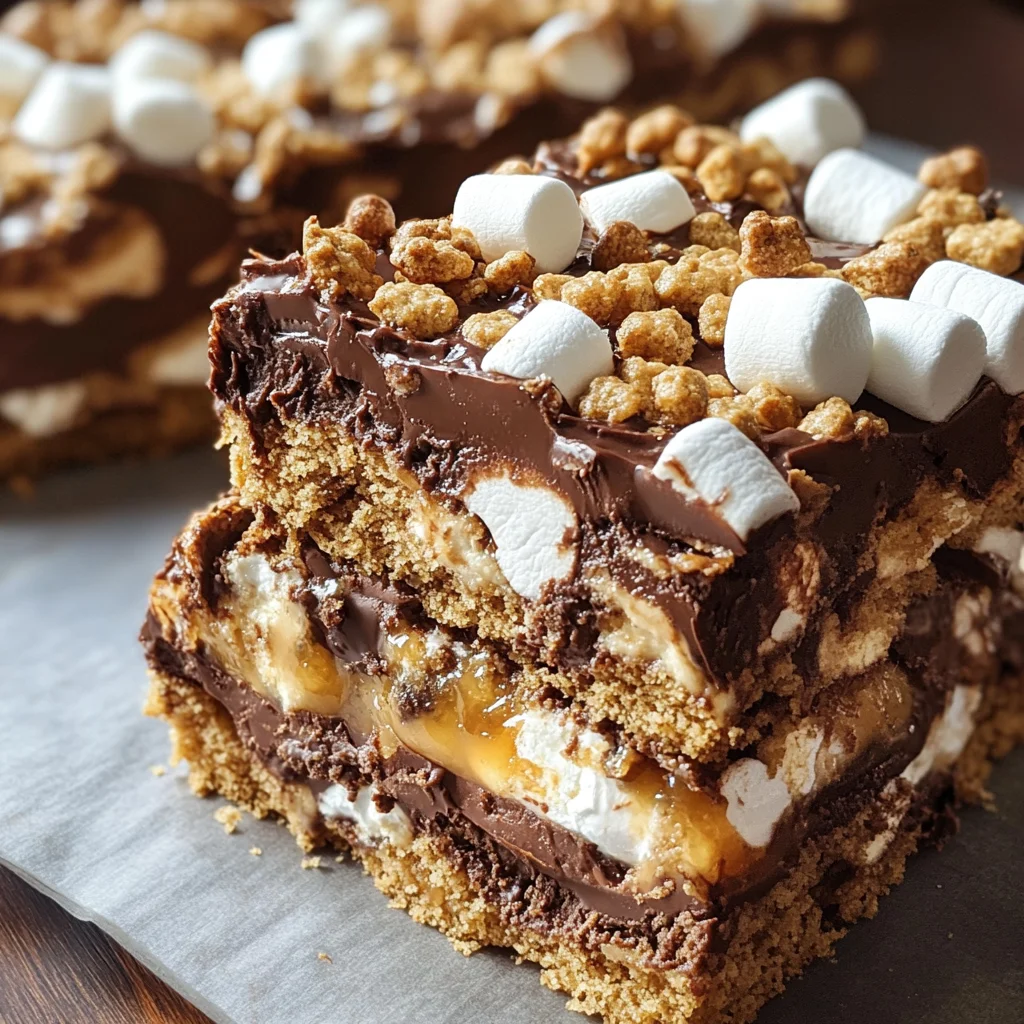
S’mores Seven Layer Bars are a delightful twist on the classic campfire treat, combining layers of crunchy graham crackers, gooey vegan marshmallows, and rich chocolate into a single, irresistible dessert. Perfect for any occasion, these bars bring back memories of summer nights spent roasting marshmallows by the fire, but with none of the hassle! Each bite provides a harmonious blend of flavors and textures that will leave you and your loved ones craving more. Whether you’re at a picnic or cozying up for movie night, these bars offer an unforgettable taste experience that’s easy to make and even easier to enjoy.
- Prep Time: 20 minutes
- Cook Time: 30 minutes
- Total Time: 50 minutes
- Yield: Approximately 12 servings 1x
- Category: Dessert
- Method: Baking
- Cuisine: American
Ingredients
- 2 1/2 cups graham cracker crumbs
- 3/4 cup melted butter (or coconut oil)
- 1 (14 oz) can sweetened condensed milk (plant-based if desired)
- 2 cups mini vegan marshmallows
- 1 cup semi-sweet chocolate chips
- 1 cup broken graham cracker pieces
- 2 (1.55 oz) chocolate bars, broken into pieces
Instructions
- Preheat your oven to 350°F (175°C) and prepare a 9×13 inch baking dish by greasing or lining it with parchment paper.
- In a mixing bowl, combine graham cracker crumbs with melted butter until well combined. Press this mixture firmly into the bottom of the prepared dish.
- Pour the sweetened condensed milk evenly over the crust.
- Sprinkle half of the mini vegan marshmallows and all of the chocolate chips over the milk layer. Then add the broken graham cracker pieces.
- Bake for about 15 minutes, then add the remaining marshmallows on top and bake for another 10-15 minutes until golden brown.
- Let cool for at least 15 minutes before cutting into squares.
Nutrition
- Serving Size: 1 bar (45g)
- Calories: 210
- Sugar: 18g
- Sodium: 120mg
- Fat: 10g
- Saturated Fat: 5g
- Unsaturated Fat: 4g
- Trans Fat: 0g
- Carbohydrates: 30g
- Fiber: 1g
- Protein: 2g
- Cholesterol: 0mg